Showing posts with label Flawsome. Show all posts

Sunday, 28 July 2019

Just a Bit Crazy ll Chrissi Mannix

Hello Lovelies,
Welcome to the blog, My turn to share with you today. 

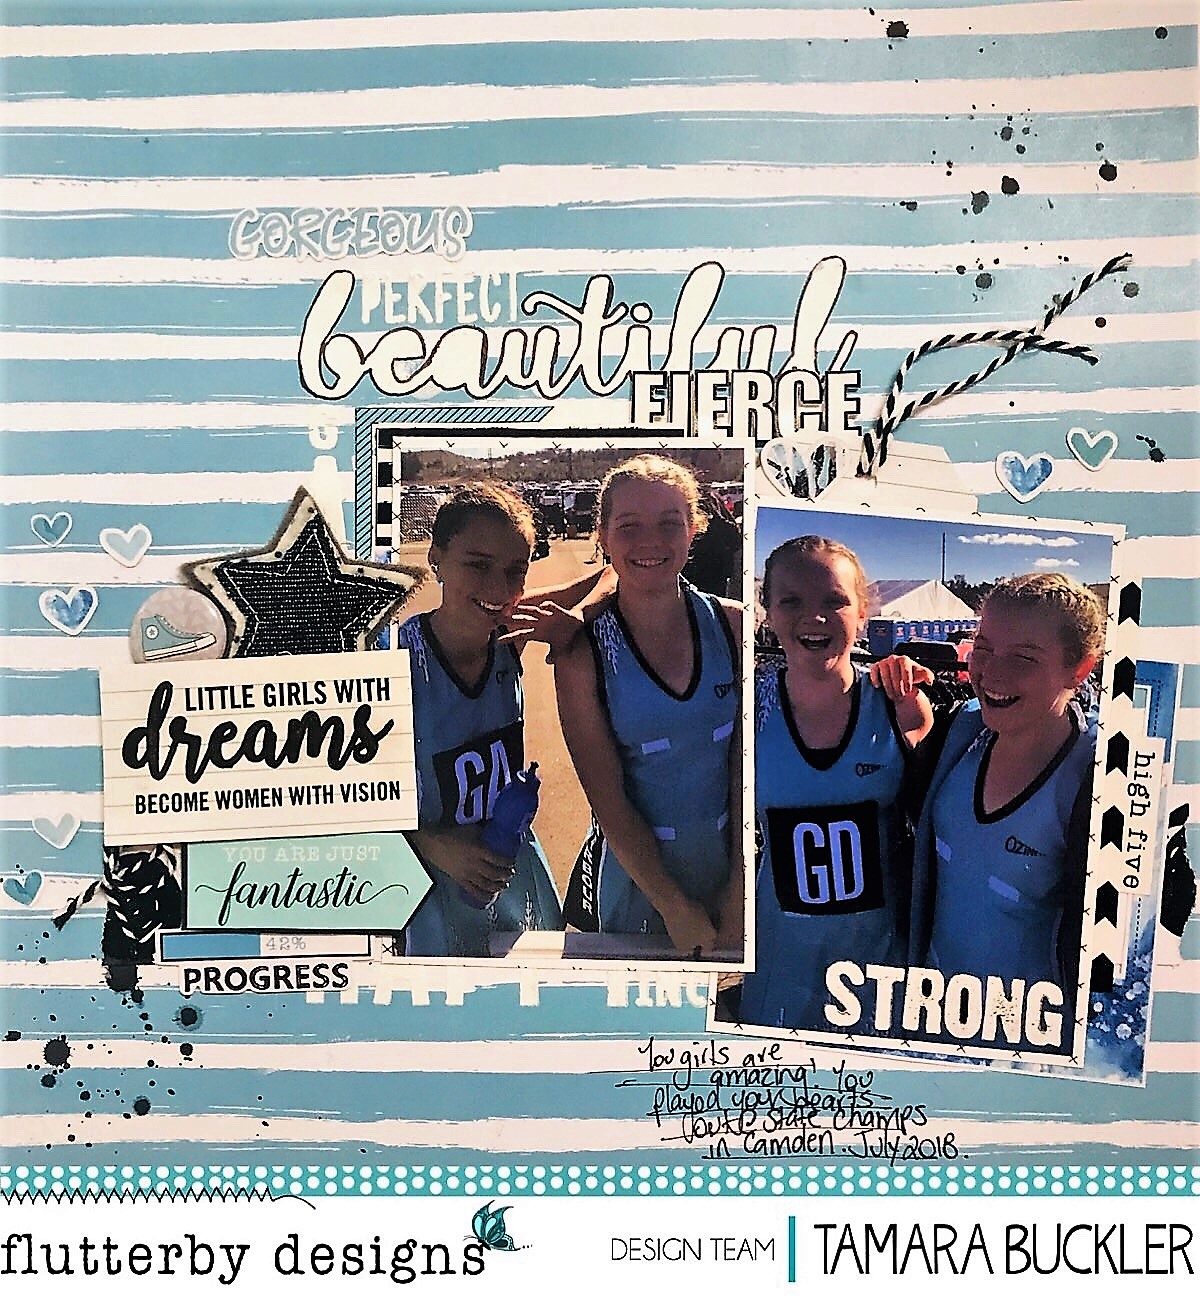
Last week I was lucky enough to be at the Flutterby Designs "Create by the Lake" Retreat. It was my first year, and if you ever have the chance to go, totally do it. Anita puts on a kick ass retreat, and seeing as its my first post back, I thought I'd scrap a pic from retreat, and use a little technique I learnt from one of  Neet's classes- again, if you ever have the chance, do one of  Neet's classes, so good.

In Anita's class, she showed us how to make an awesome mixed media background to use in various projects. I loved the technique so much, I wanted to turn it into a layout. Starting with blobs of  my Flutter Colour Paints on some cardstock, I rolled it our with my brayer. Adding more paint and colour untill I was happy with the background. Then to add a pop of white, I literally just threw my paint over my layout. Took a little to dry, but so worth the result.
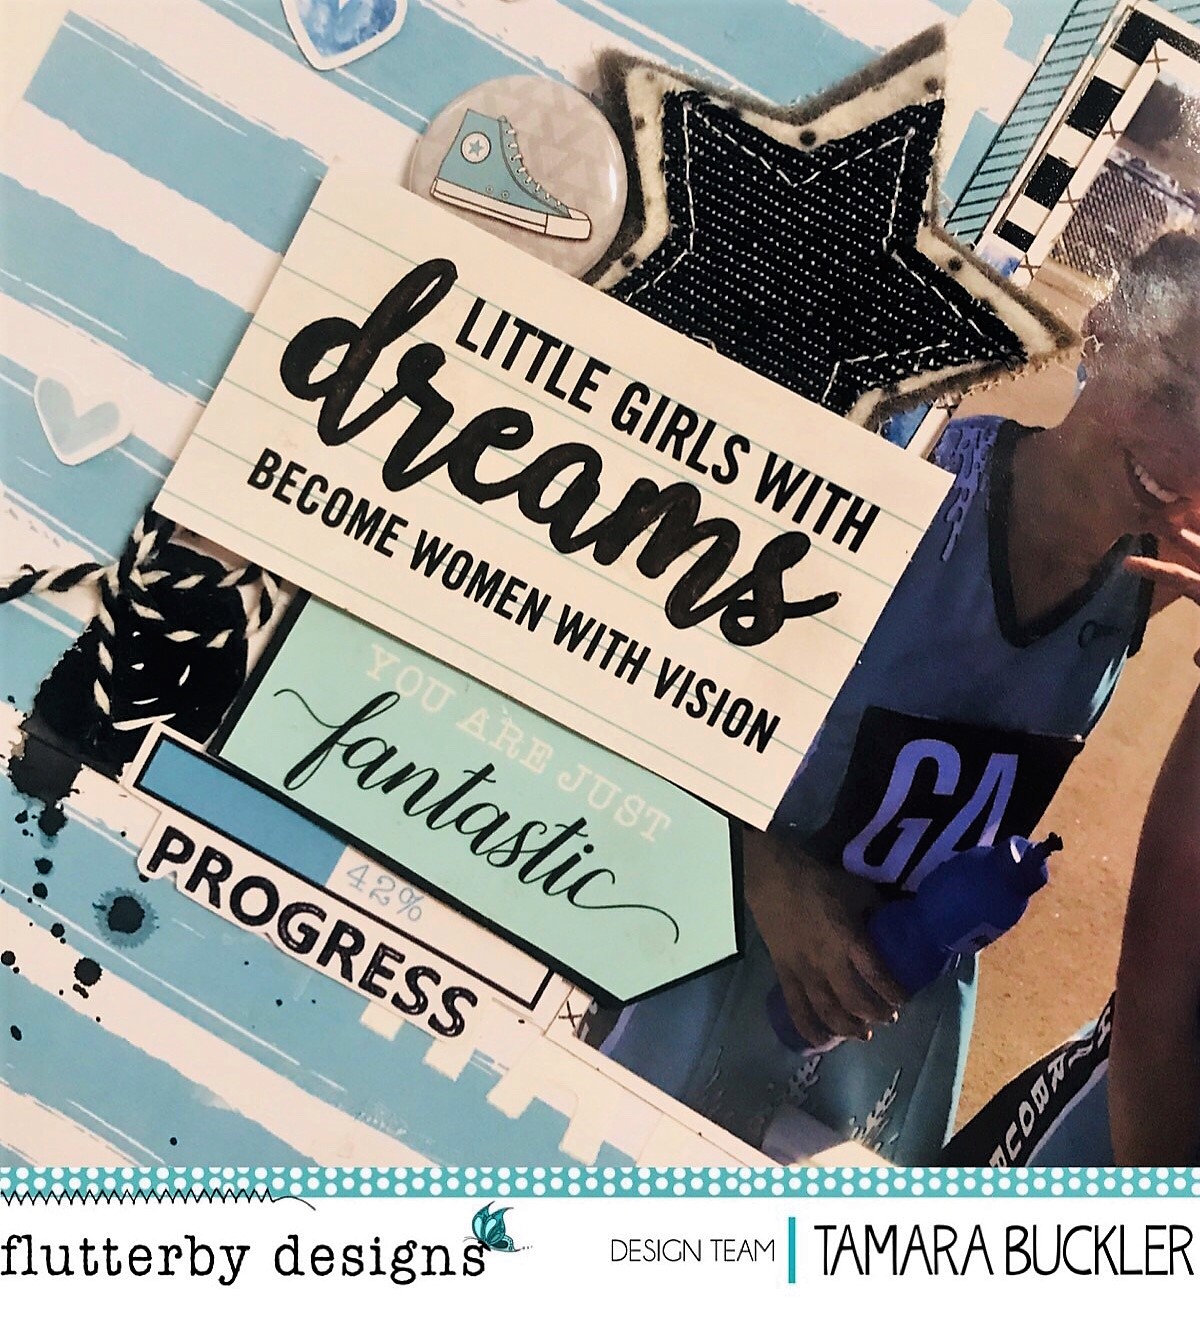
Too add some more interest to my page, I added some modeling paste through the Flawsome Stencil. You don't end up seeing much of it, but it just adds something to the page. I then matted my photo on some of the Every Day Etc Filler Cards
As I  have done before, I also used the Every Day Etc Cards as my title. I love fussy cutting these to use as titles and embellishments. I added some tiny alphas and some stamping to finish my title.
This layout was alot of fun to do, and I loved the process. If you want to see the process, check out the video in the link.
Thanks for stopping by
Chrissi xxx


Sunday, 7 July 2019

Stay Fierce | Allara Bamforth

Happy Sunday!

The background for today's layout has been created with the fabulous Flutter Colour Paints and the Flutterby Desgins Art Foamies. Down the right side of the page I've used Grape Soda, Tropicana Teal and Green Limousine, blending them together with my brayer. Using the 'Fill It In' Foamies I have stamped them into the wet paint and the restamped to the side, so that they have lots of lovely colour variation from the three colours I have used. I then stamp a couple in back ink for contrast.

Once this is dry and using the 'Migraine Madness Stencil' I sponge some of the circles with Orange Goldfish paint. I splatter some Grape Soda and Artic White over the top and draw around the circles with pink, blue and white paint pens.

The photo and titles are mounted with Everyday Etc Filler cards from the Flawsome Range and the titles are also cut from Flawsome Everyday Etc Cards.

To finish off I have added a Flair Button from the Flawsome range and a few small silver sequins. It was a fairly quick page to put together but it is amazing how quick you can create clever background with paint and stamps and co-ordinate with the fabulous ranges that Flutterby Designs have.


Thanks for taking a peek!

Till next post,


Saturday, 23 March 2019

Dream Big | Allara Bamforth

Good Morning!

What have you got planned for the weekend? I'm hoping to have some time to make some art and watch a movie! I can only dream - too much reality stuff to do in a two day weekend.

I'm back on the blog this morning with a mixture of collections. One thing I love about Flutterby Designs is how the collections mix and match. I will always find things to co-ordinate together, if i don't have something the current collection I need.

Today's back ground papers are from the 'Flawsome' collection, Be Kind and Rainbow Love. I've then been making my own backgrounds on some watercolour paper with my oxide inks. I find the oxide inks are so vibrant on watercolour paper and they blend really well. Over the top of the watercolour I've taken my Flutter colour paint and drizzled Artic White and Raspberry Punch over to match the design on the back ground page.


To the bottom of my photo mats I've added a piece of 12 x 12 Happlily Ever after paper. My photo mats and embellishments are all from the 'Magical AF' collection.

Thanks for taking a peek. Make sure you go take a look at the website and see all the wonderful goodies Flutterby's has to offer.

Till next time,


Tuesday, 23 October 2018

Shine Bright Beautiful | Tamara Buckler

Hello Flutterby peeps,

I'm so happy to be back with you to share my latest layout featuring lots of messy mixed media and a heap of Flutterby goodies.

The colours for this layout were inspired by the outfit my daughter is wearing - I really wanted to pull out the mustard and pink.


I also felt that I wanted to have a contrast for these two main colours, so added in some Grey Texture Paste. I did this by mixing Black Mayhem Flutter Colour Paint to my Texture Paste, which I then ran through the 'Words of Wisdom 2,0' stencil (on clearance in the shop, btw!) Once this was dry, I watered down some Orange Goldfish and Raspberry Punch Flutter Colour Paint, and used the packaging technique to apply this to my page. I also added grey splatters by mixing Black Mayhem and Arctic White with some water, and flicking it on the page with my brush.


I used tissue paper, cardboard, and plasterers tape in between and behind various layers of Everyday Etc Cards -  a lot of these were from the 'We Run the World' collection.  I also added to these layers one of the piece from the 'Hello' fussy cuts set. 


To create my title I fussy cut "Shine Bright" from the 'Wild Bohemian' Everyday Etc Photo Cards, and then added "beautiful" from the 'Flawsome' wood veneers, which I painted white.


I am in love with all this texture and dimension!!


To balance off my title, I added another piece that I fussy cut from the 'Wild Bohemian' Everyday Etc Photo Card, which I tucked in with a Charms Creations Heart and a Flair Button that has been in my stash forever!


To complete the page, I added in some Snippet Strips from the Monochrome Set, which I anchored to the page with some pieces that I cut from the centre of the Fussy Cut piece (I've tucked this in a few other places too). I also added in a Wood Veneer heart which I painted with the a coat of Arctic White then a coat of Orange Goldfish Flutter Colour Paint - this just makes the colour more punchy on top of the wood veneer. 

I'm super happy with how this page turned out! Thanks so much for stopping by!

Big Loves, 
Tam xo


Friday, 7 September 2018

Think of Yourself | Tamara Buckler

Hello Flutterby Friends,

Aren't you lucky, you get two layouts from me this week! This one was inspired by the beautiful 'Sami' paper from the We Run the World 12x12 paper pack. My youngest daughter is crazy about anything "Galaxy" at the moment, and this paper gave me those feels. I decided to recreate that feeling on some black card stock and this is what I come up with..


I had fussy cut this photo out for another project, but it didn't work over there. Luckily the colours of the pic worked perfectly with the 'Sami' paper and I love the way it jumps off the page here. To ground the picture though, I ran some texture paste through the new 'This is Me' stencil across the bottom half of the page, and then added some Gesso and Flutter Colour Paint to mask an area behind the photo. 


To create the title for the page, I fussy cut a phrase from a Flawsome Everyday Etc Card. I backed each line with some white cardstock and popped it up on foam tape to separate it from the busy background. 


With all of this going on, the page didn't need much embellishing, so I added in a Flair Button, which I altered to suit the page with some White Tiny Sticky Quotes. I then finished off the page with a few fussy cut elements, and it was done! 


Thanks for stopping by today, and I hope you've enjoyed my page!

Big Loves,
Tam xo


Monday, 6 August 2018

Little Girls with Dreams become Women with Vision | Tamara Buckler

Hi All,

I'm back on the blog today to share with you a layout I created using some of the beautiful 12x12 paper from the We run the World Collection. The beautiful blue striped paper "Mrs Smith" was perfect for to document photos of my daughter and her netball friends at the recent State Champs that we attended.


I started this page by applying some modelling paste through the "Flawsome" stencil roughly in the centre of the page. I matted my pics with some patterned paper that I had laying around, and then began tucking some Everyday Etc Cards from We Run the World behind my photos. I also found various frames in Die Cut Bits and Bobs pack from the Flawsome collection to tuck behind the pictures. I ran a strip of the "Bev" paper from the 12x12 pack across the bottom of my photos to anchor them to the page.


Whilst I was looking through the Everyday Etc Cards, I found the "Little Girls with Dreams" quote, and new this was perfect for my title. The word 'dreams' was pink, but I used a sharpie to make it black to better suit my colour scheme. I built the cluster to the left of my pictures to highlight this phrase. I tucked in a Flair Button from the Extreme Teen collection, as well as a star from Charm's Creations.


I fussy cut some words and phrases from the Everyday Etc Cards to emphasize the strengths of our amazing netballers, and tucked these around the page. I also added quite a few die cut hearts from a number of different ranges to tie all the blue pieces on the layout together.


To finish the page off I added some black splatters, and some twine and it was done! Super easy and I really love the result.

Thanks for stopping by today.

Big Loves,
Tam x

Wednesday, 27 June 2018

The Grinch's Small Heart Grew 3 Sizes That Day by Allara Bamforth

Happy Hump Day,

I'm back on the blog today with something a little different today and given that is only 6 months till Xmas and we are celebrating Xmas in July at Flutterby's camp - why not do a Xmas theme layout of my favourite character - The Grinch. We couldn't miss the opportunity last Xmas to get our Santa photo done with the Grinch.

Although I've mostly used 'Happily Ever Collection' in this layout, I've used bits and pieces from a few previous collections because they just all mix and match together so well!!


The tree is made up of strips and offcuts from the Happily Ever After Everyday Etc Filler Cards as well as the star on top. In between the strips, I've added various Photo Tabs from Happily Ever After and Flawsome collection. Also on the tree I've added some Enamel Dots - Neon to look like baubles.


The background is splattered with paint from the Flutterby Colur Paint - Bright Set, Artic White and Green Limousine. The photo is matted with more of the Happily Ever Collection Filler Cards and I've tucked a couple of Washi Tape pieces from the full Happily Ever After Kit.

Finished it off with a Flair Button from Happily Ever After Set 1 and a wood veneer snuck in from the Good Vibes Only - Wood Veneer Bits. The title is a die cut from the Mad About You collection and I've also added some stickers from the Blackboard Sticky Quotes and Flawsome Sticky Quotes.

Thanks for tuning and checking out this weeks blog post. Only 4 more weeks till the Flutterby Create by the Lake Camp - I'm so excited!!

Till next post,

Allara xx


Wednesday, 10 January 2018

Hello, Be Happy | Tamara Buckler

Hello and Happy New Year to all our Flutterby peeps,

I'm grateful and very lucky to be back with you today as a member of the 2018 Design Team, this year is going to rock! I'm up today to share with you my first layout of the year, and I'm starting off with a bang!


This layout is using a piece of the exclusive 12x12 paper from the Flawsome Collection that I was lucky enough to pick up at 2017 Create by the Lake (you can no longer get this in the shop, but the new 12x12 paper pack in the 'We run the World' Collection is to die for!!)


This background paper is so fabulous, with so much colour and texture, that I didn't have to do too much. In fact I simply spread some white Gesso in a diamond shape around the centre of the page to create a cleaner focal point, and added some texture using white texture paste through the 'Hugs & Kisses' stencil.

I continued this concept by using the 'hello' fussy cut to provide a white surround for the photo, and then built up my layers from there, using the Everyday Etc Cards from a few of the ranges. I also added frames from the Mad About You Photo Cut Outs and Die Cuts.

I painted the Be Happy Wood Veneer and added some Charm Creations, some page tabs and a flair button, and that was page done!

Super happy with how this turned out! Thanks for stopping by and checking it out!

Big Loves, 
Tam xo


Friday, 17 November 2017

We Are Family | Sue Plumb


Hi Flutterby peeps!
Sue Plumb here today to share another design team project with you. Today, I have a mixed media page that features a fabulous painty background and a mix of collections. This page features a photo of my sister and I that was taken at the Flutterby 'Create by the Lake' retreat. I was really drawn to this photo because of the awesome backdrop we were standing in front of, so I wanted to translate some of that colour and style through to my background.


I started with some white cardstock and Flutter Colour paints - Bahama BlueTropicana TealAquamarine Dream; and Green Limousine. I splattered drops of the four colours randomly around before using a brayer to mix and spread the paints vertically on the page. I then dried the paint with a heat gun before applying a small amount of Grape Soda paint to the central focal area of my page and spreading it across horizontally with the brayer. Next, I added a few random spots of Arctic White paint around the page and spread that on top of the other layers to tone the colour back a bit.


Once all the paint had dried; I took some Colour Blast 'Indigo' Colour Spray and used the end of the spray nozzle from the bottle to scribble around on top of the paint to give it more of that "street art" feel. Next, I took the 'You've Got This' stencil, and applied some texture paste through a few of the phrases randomly around the page. Finally, I splattered around some 'Bubblegum' Colour Spray and then set it aside to dry; then added a few scribbles using my Stabilo all pencil.


While the background was drying, I started assembling the pieces that would form the mat for my photo. I used a mix of Everyday Etc cards and filler cards (from the 'Flawsome''Happy Together' and 'No Excuses' collections); which I cut and layered together. Once all the pieces were in place, I added my photo on top.


The we are family title for my page was fussy cut from one the the 'Happy Together' Everyday Etc cards; and I added a small wood veneer heart on top (that I had coloured black with a Sharpie); along with a few other hearts around my page.


To the left of my title, I stuck the love you longtime sticker, from the white Sticky Quotes sheet. Above my photo I added the you & me speech bubble and on my photo I added the you're my person banner (both from the 'Mad About You' Die Cut Bits & Bobs pack.)


To finish my page, I added the good vibes flair button (from set #421), which I nested on some messy cotton thread and a few splatters of white ink around the page.

That's all from me today. I will be back in a couple of weeks with another project to share.
Until then, happy scrapping! 


Sunday, 12 November 2017

Your are Loved, with Ros Aggett-Madley

Hello everyone, back again today with another page freaturing the Flawsome range.

My background is a mix of gelli printing and stamping.


I've used different cards and elements from the Everyday Etc Cards to layer up a photo stack.


The Flutterby Wood Veneer have been coloured with a Sharpie.  So quick and easy and no dry time.


I've used one of my favourite flair buttons and a sprinkle of Futterby Enamel Dots.  The cirlces in the background have been stamped on and cut from some Everyday Etc Cards.


This wood veneer was also coloured with a Sharpie, has a bit of a wood look still.


Hope you've been inspired ♥