Showing posts with label layout. Show all posts

Saturday, 13 July 2019

Boss Girl ll Chrissi Mannix

Hello Lovelies,
Today I'm scrapping some pics of my gorgeous niece, and what better collection, for this strong willed, sassy princess, than the We run The World Collection. I love being able to use this collection.
My niece is a very strong willed, sassy, adorable little princess, with one hell of a personality. This collection couldn't be more perfect to scrap some of her sassier moments lol. I scrap her pictures in 8.5x11 which has been a challenge for me over the year, but I'm getting better. I start with smaller photos, and I find this helps me with real estate on the page. Makes it easier to use the Every Day Etc Cards Filler Cards to layer aswell-which I love to do.
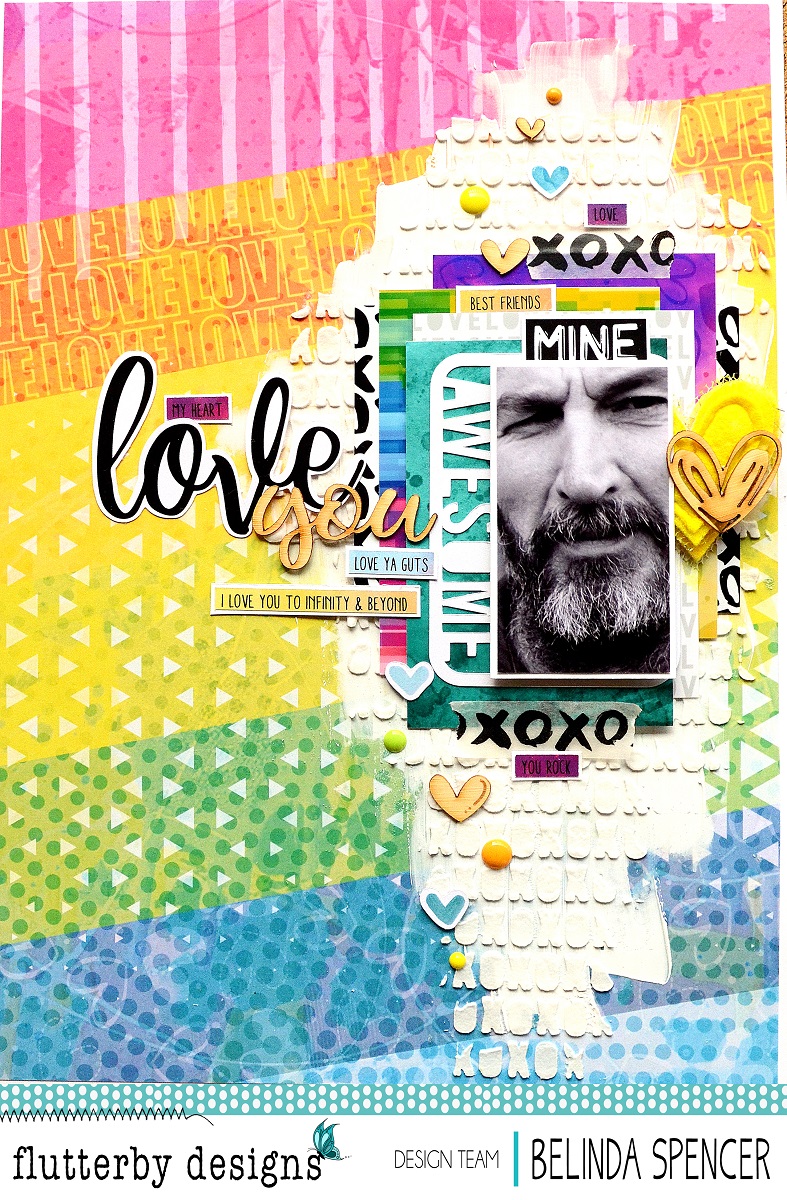
Because I cant help but add some bright colour and mixed media to my page, I applied a base of hot pink paint to my background, and then used some white paint to add some random paint lines and add texture and interest. The pink really makes everything else pop.
I adore using the Every day Etc Cards for titles and embellishments on my pages. The awesome quotes are always fun for sassy titles. The die cut pieces have some great embellishments, and i found this awesome crown that embellished my photo perfectly. I feel like it really made the whole page pop, and brought out the sassy in this photo. I love how this age turned out- I hope you do too.
Happy Scraping, I'll be back soon
xxx

Thursday, 20 December 2018

Crazy Together | Belinda Spencer

Hello Flutterby peeps!!

Belinda here today to share my latest layout featuring the fabulous NEW We Are collection.

'Crazy Together'


I used the lovely 'Messy Memories' paper from the 12 x 12 We Are Paper Pack as the base for my layout. I added a little stencilling using the 'xo' stencil and some heavy white gesso. I flicked some white paint pen over the surface too.


Next I layered on a strip of the 'The Story of Us' 12 x 12 paper followed by some cropped pieces from the Everyday Etc Filler Cards. I added the die cut photo frame from the We Are Die Cut Bits & Bobs as well as a frame from the Frame 46 Photo Cut Out.


I added my title using a Die Cut Bits & Bobs word as well as a sticker from the We Are Sticky Quotes. I cut out a couple of fun faces from one of the filler cards and popped those on as well as some page tabs and wood veneer pieces.


I hope you are having fun playing with your stash of We Are goodies. Thanks so much for stopping by the blog.

Cheers
Belinda


Monday, 20 August 2018

Love You | Belinda Spencer

Happy Monday Flutterby peeps!!

Belinda here today to share another layout for August featuring the Happily Ever After collection.


This layout shows how you can use lots of leftover scraps of patterned paper and filler cards. I pretty much used just leftover bits for the layers under my photo which I cropped into a non-standard size. I love using up all of my little leftover bits this way. They are great for cards too.


I used the fabulous 'All You Need Is Love' Stencil with some texture paste on the heavy white cardstock background. Once dry, I diluted some Orange Goldfish and Raspberry Punch Flutter Colour Paint with water and spritzed the layout with heaps of water too. I used a soft wet paintbrush to add the diluted paints to the layout letting them spread across the wet surface and create pools of colour. I left it to dry for a while before I used a bit of scrunched paper towel to mop up the excess water in some places. I finished off the drying with a heat gun.

I had heaps of paint left over and because I hate to waste it, I used the same technique to add it to a page in one of my art journals. Now I have a page ready to go! I always keep an art journal or tag handy to mop up any paint/ink leftover from projects. Saves heaps of time later.


I used an eclectic mix of wood veneer, page tabs, filler cards and sticky quick quotes to add extra detail and interest.


Here's what I used:

- 12 x 12 Blanket Thief patterned paper
- 12 x 12 Boring Together patterned paper
- 12 x 12 Forever and Ever patterned paper
- Wood Veneer Bits

- 'Mad About You' Wood Veneer
- White Tiny Sticky Quotes

Thanks for stopping by the blog today!

Cheers
Belinda

Monday, 23 July 2018

Love You | Belinda Spencer

Hey Flutterby peeps!!

Belinda here with you today to share my latest layout featuring the totally awesome Happily Ever After collection.

'Love You'


Just look at that stunning rainbow background paper! I LOVE the 12 x 12 papers in this range so much. I especially love that they require very little fuss so you can knock out a layout super quick. Here I swiped some gesso onto the paper using a silicone brush. Once dry I added some stencilling using Golden Light Molding Paste.


Then it was time to layer up!! The filler cards are so perfect for layering under your photo. Here I chose filler cards that matched the background colours.


I added a fussy cut on top of the filler card pile followed by my photo.


I finished with a scattering of sweet little embellishments, my title and some Sticky Quick Quotes.


Here's what I used:

HAPPILY EVER AFTER:
- Everyday Etc Filler Cards
- Die Cut Bits & Bobs
- Wood Veneer Bits
- Washi tape
- 12" x 12" Patterned Paper "Love For All"

- Sticky Quick Quotes "Tiny Rainbow"
- Fussy Cuts
- Enamel Dots Neon
- Stencil


Thursday, 5 July 2018

Weirdo | Belinda Spencer

Hi Flutterby peeps!!

Belinda here with you today to share a layout I have created featuring the fabulous Happily Ever After collection.

'Weirdo'


I think the 12 x 12 patterned papers in this collection would have to be my favourite yet. I just love the vibrant colours making them the perfect base for a layout. Here I have used the "I'll Keep You" paper. I swiped some white gesso over a central area. After the gesso was dry, I used the 'Fragmented' Stencil with Flutter Colour Paint in Orange Goldfish and Tropicana Teal. I flipped the colours to be the opposite of the patterned paper. Once the paint was dry, I placed the stencil over the top again and added fine white outlines using a white paint pen.


I also painted the 'Wheels' Wood Veneer to match starting with a white gesso coat followed by the same Flutter Colour paints.


I really love the mix of orange and pink in the title so I have used enamel dots and sticky quick quotes in these same colours.


I used the bold black love heart filler card behind my photo to match the bold blacks in my photo.


I do love to leave the wood veneer in its raw state too so I added the 'weird as me' quote just as it is along with a sweet sprinkling of hearts.


Products used:

Stencil 'Fragmented'
- Orange Goldfish
- Tropicana Teal


Thanks so much for stopping by the blog today to check out my layout. You can find the full collection over HERE in the STORE.


Wednesday, 20 June 2018

Important | Belinda Spencer

Hello Flutterby peeps!!

Belinda here today to share another layout featuring the fabulous Happily Ever After collection.

'Important'


How cool is that background paper?!! That is the 'Mac & Cheese' 12 x 12 patterned paper in the range and I LOVE it. I really wanted to showcase that paper on my layout and therefore for a complete change I have not added any mixed media to my background. It makes a really bold statement just as it is and looks really cool combined with the kraft and black and white elements.


I cut a strip from the 'Boring Together' patterned paper to layer on top of the background paper and doodled a loose border around it with a black journaling pen.


I layered some Everyday Etc Filler Cards and added those to the layout followed by the 'important' Snap 2 Fussy Cut.Next I added my photo and slipped the bottom edge of it under the letters. I added a cool quote cut from the 'What Makes Us Work' patterned paper.


I also added a die cut, page tabs, washi tape, wood veneer bits and a cool flair button.


HAPPILY EVER AFTER:
- Washi Tape

Snap 2 Fussy Cuts
Page Tabs
Flair Button


Thursday, 5 April 2018

My Sunshine | Belinda Spencer

Hello Flutterby lovelies!

Belinda here with you today to share my first layout for April featuring the fabulous new Good Vibes Only collection.

'My Sunshine' Layout


I used the 'Good Vibes Only' 12 x 12 patterned paper for the base of my layout and added a few squirts of Flutter Colour paint in Orange Goldfish and Sunshine Yellow. I then swiped it across the paper using a Prima Silicone Brush and set a side to dry.


Once the paint was dry, I diluted some Green Limousine paint with a little water and flicked it over the layout.


My daughter just so happened to be wearing her pineapple dress to the zoo on Easter Sunday. Alright I made her wear it so I would have a photo for my layout. I didn't have to twist her arm too much though as she wanted to wear it. LOL

Anyway I chose as many pineapple inspired bits from the collection as I could starting with the photo cards and filler photo cards. I cut them to size and added across my background.

I mounted the photo on white cardstock first and then a strip of the Ray of Sunshine 12 x 12 patterned paper.


I just love the wood veneer bits in this range!! So I added some of those across the layout including the 'sunshine' title. How cute are those leaves?!!
I cut the pineapple die cut from white cardstock using a Kaisercraft die and slipped that under the right hand side of the photo. I then added the cute cluster of embellishments.


I finished with a couple of page tabs from the collection. The page tabs have to be one of my very favourite Flutterby Designs elements.

Here's what I used:
- Green Limousine
- Orange Goldfish
- Sunshine Yellow

Have you had a chance to play with this collection yet? If so, we would love for you to share your projects in the Facebook Inspiration Group.

Thanks for stopping by the blog today.

Cheers
Belinda

Saturday, 20 January 2018

Beautiful | Belinda Spencer

Hello Flutterby Designs peeps!

Belinda back again to share another layout for the month featuring the completely fabulous 'We Run The World' collection.

I love this collection so much and especially that it represents strong women. So of course I had to use a photo of the fierce, kind and beautiful small female child that I am lucky enough to call my daughter.

'Beautiful'


How gorgeous is that background paper?!!! I think it is my absolute favourite of the brand new 12 x 12 papers. The design is so good.

I started by squirting some Tropicana Teal paint over the 'Connie' paper and then swooshed it around with a palette knife until I had enough coverage.


I played around with some of the Filler Photo Cards to create some layers under my photo. 


I added a sweet cluster of embellishments including an awesome flair button, a heart fussy cut from the Connie paper and a Charm's Creations black and white heavenly heart.


I used the acrylic word 'beautiful' as a mask to create my title. I held the word in place carefully with my fingers on a piece of white cardstock while I used a latex make-up wedge to blot the Tropicana Teal paint around it. Check out this progress shot.


I have to admit that when I took the mask away there was a little paint bleeding so I used a white Posca paint pen to tidy up and colour the whole word. I then placed the acrylic word back over the top and used a fine black pen to create a black outline. Finally I fussy cut the whole thing with just a small teal border.


Of course I had to add a bunch of page tabs and snippet strips too. 

Here's what I used:

- 'beautiful' acrylic word
- Die Cut Bits & Bobs
- Everyday Etc Filler Photo Cards
- Flair Buttons Set 1


Well that is all from me today. Make sure you head over to the shop to grab yourself some of the stunning 'Limited Edition' 12 x 12 patterned papers before they run out.

Cheers
Belinda


Sunday, 7 January 2018

Dec 25 Christmas Cheer | Belinda Spencer

Hello Flutterby Designs fans!!

Belinda here today to share my very first projects for the new year featuring the awesome Fair Dinkum Chrissy collection. I am so very happy to be back for another year of scrappy fun at Flutterby Designs and I am very grateful to Anita for having me back. I am so looking forward to creating alongside the new team of awesomeness.

Anyway, onto the shares!

My little family and I quite often head to the beach on Christmas Day so this is just the perfect range to scrap our family beach Christmas tradition.

'Dec 25' Layout


For this layout I was really drawn to all of the gorgeous silver elements in the Die Cut Bits & Bobs as well as the filler photo cards. I especially couldn't wait to use the stunning silver glitter acrylic 'Dec 25'. I swiped some silver acrylic ink across my white card stock base and let that dry before adding a little stamping. I flicked some of the silver ink as well as black and white Posca Pen paint over the background too.


I kept my colour scheme simple by using neutral black, white and silver. This colour scheme really made my darling daughter's red Christmas dress pop in the photo.


I created lots of layers as always with messy embroidery thread, page tabs, wood veneer and die cut elements.


I coloured the wood veneer with the black and white Posca Pens.


Here's what I used:
- Acrylic Title


To keep things fair, I have also scrapped a photo of my sweet son from the same Christmas Day at the beach.


'Christmas Cheer' Layout


For this layout I have reverted to type and used my very favourite Tropicana Teal Flutter Colour Paint diluted to a watercolour consistency on my background. I swiped some texture paste through the Bubble O' Fun Mini Stencil to add some dimension and interest.


I cropped some of the Filler Photo Cards to create the layers under my photo but that beach scene one is my absolute favourite so I just had to use the whole thing.


I finished off with some twine, wood veneer bits, flair button, page tabs and some cute stars that I fussy cut.


Here's what I used:


Well I hope you have been inspired by my first projects for 2018. Have you had a chance to scrap some Christmas photos yet with this fabo range? Please remember to add your awesome layouts to the Flutterby Inspiration HQ group. I really love to see what you have made.

Thanks for stopping by!

Cheers
Belinda