Hi Lovelies,
It's Krisy back again today. I gave you a bit of a break earlier in the month of the "
No Excuses" range but today I am back with another layout using this range. This time it is a photo of my friend, Sarah. If you follow my blog I have spoken of Sarah before. But the short of it is, Sarah and I were best friends at high school that drifted apart and reconnected earlier this year. I was in the beginning stages of my exercise routine and Sarah had a change in life circumstances that meant she had to start getting serious about her fitness. She had started in Crossfit and I was looking to step up my exercise routine and was curious so I decided to give it a go too.
We don't train together all the time. Being a mum and having to work around when my husband is home means I have to go when he is home to watch the kids so sometimes that means 5am and sometimes that is 9.15 or 5.30. I love it when Sarah and I do train together. We push each other. I am a bit better in the cardio side of things - especially running but she is way better at the heavy lifting than me. This is a photo I took of her to remind her how far she has come. Six months ago we would both have struggled to lift this weight. With any exercise you have to remember you are in control well actually your mind is in control. You mind tells your body what to do. SO, if you are strong in your mind you will achieve more.
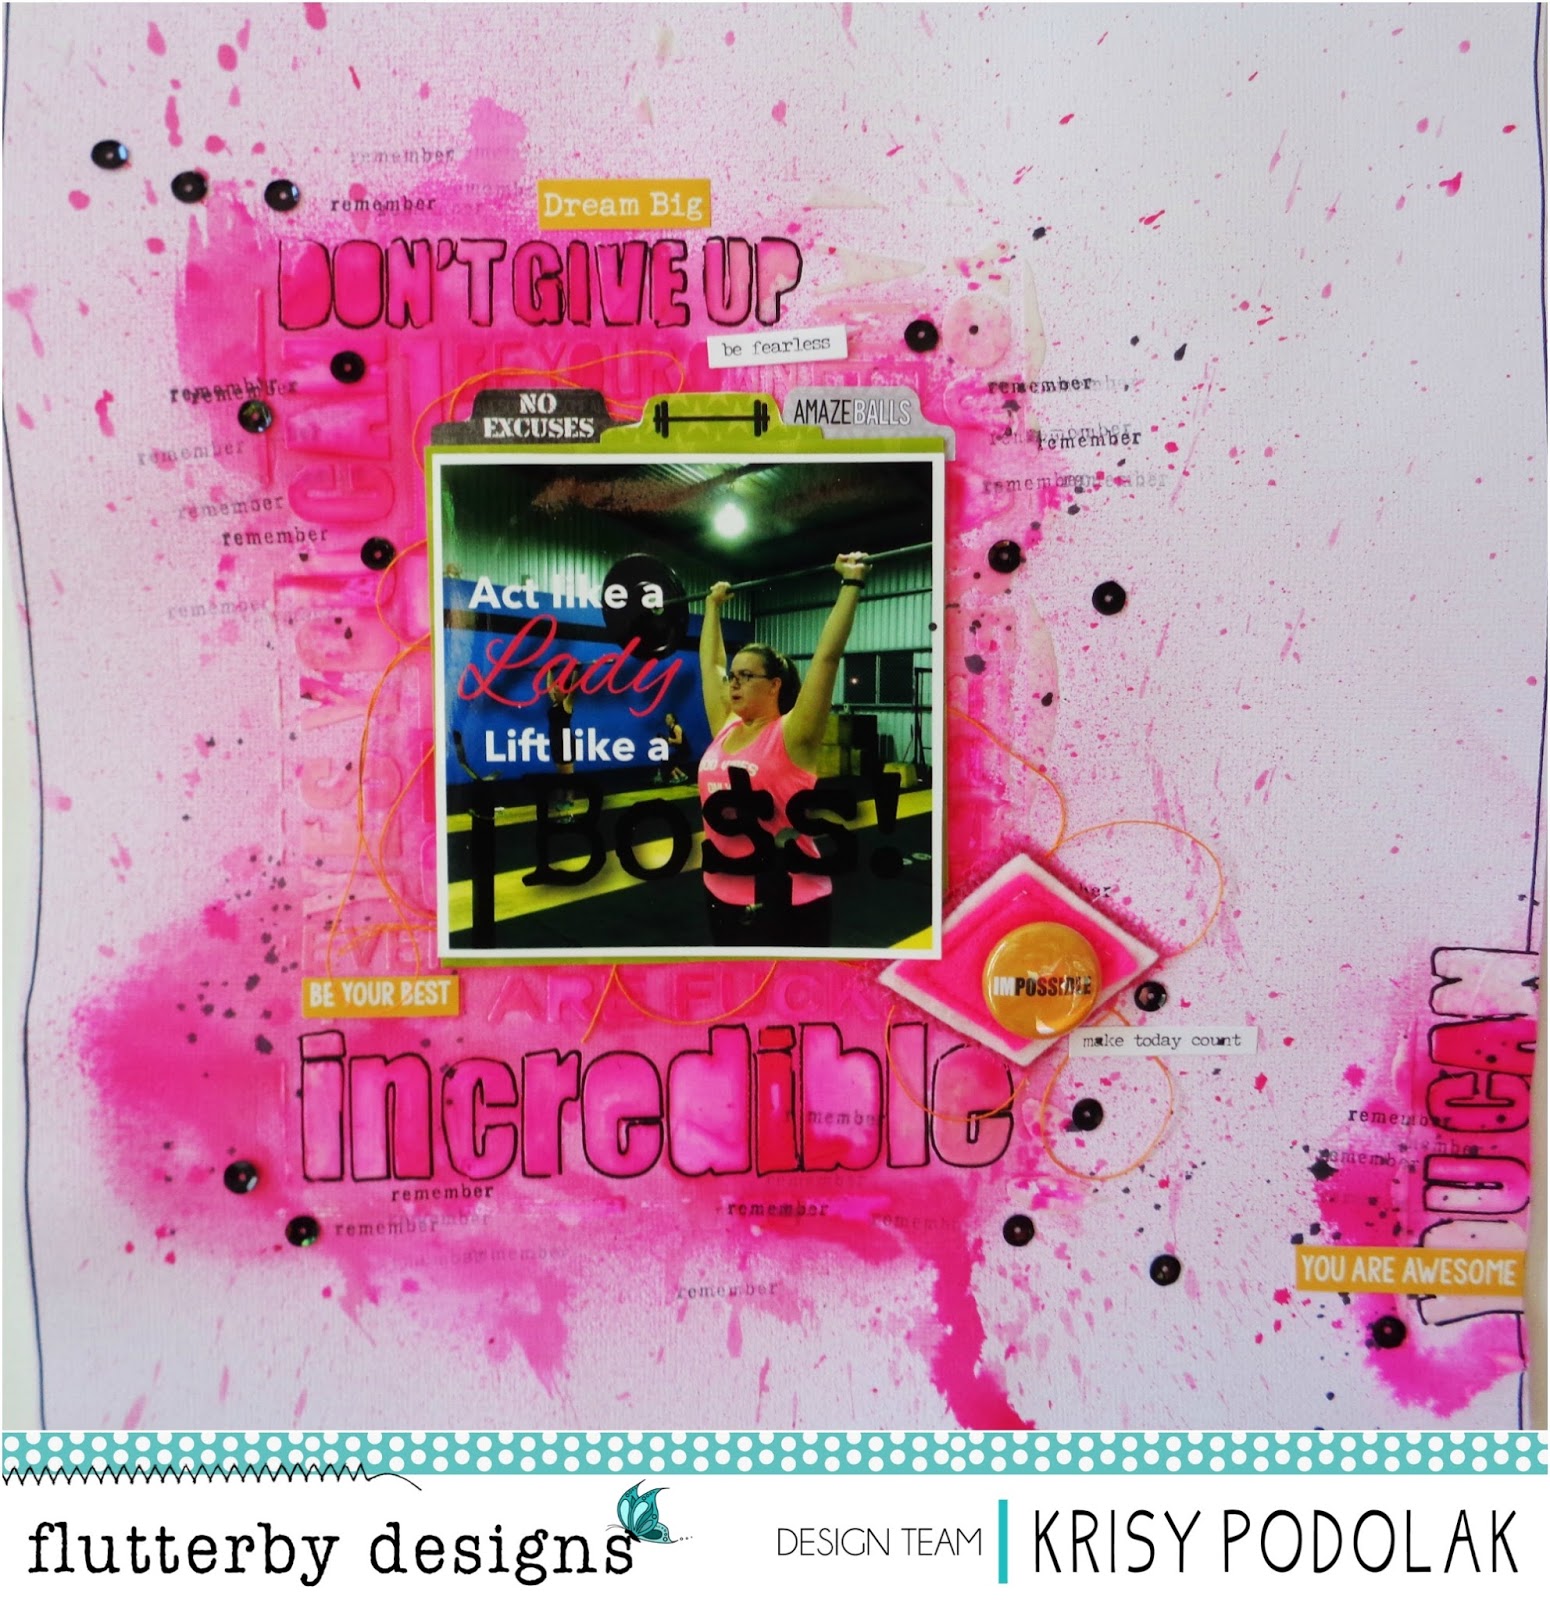
This is my layout....
It is very mixed media.
To start, I created my background using the
You Got This stencil and Impasto paste. Impasto is very much like texture paste only it isn't white and drys opaque.
Over the top I splattered, sprayed, dribbled and painted on some Bubblegum
Colour Blast Colour Spray. Once it was dry, I added my photo and some
Snippet Strips words. I used the orange as it worked well with the photo (the wood has an orangey tinge with the crappy lights at the box) and plus the
flair button I wanted to use was orange.
Once the photo was in place, I used my black marker to trace around some of the words from the background to make them stand out. I then added some tiny details, some small roller stamped words, some black sequins, a hot pink
Charms Creations Diamond and some orange thread (to bring in a little more orange).
Finally, I added some
page tabs along the top of the photo. I edited the photo in an app to include the "Act like a lady, Lift like a Boss" words as I had sent this photo to Sarah after that particular work out and I knew she had been struggling for motivation. Once you can see the changes from the outside, sometimes you see things a little different from the inside. Change takes time and persistence.