Happy Wednesday!
I'm back on the blog today with a stash busting layout using some of my favourite Flutterby Designs bits and pieces with a bright and colourful layout.
The background was created with some of my favourite Flutter Colour Designs paint from the Brights set which I've used my brayer to paint across half of my background on the right and then just some of the excess on the left. Subtly I've stamped some of the Art Foamies Fill It In stamps and also some of the Edgies beside my photo. I've splattered some white paint over my background to match some of the design in the title.
I used Everyday Etc Cards to layer my photo and chose a matching title. I added a Page tab and some Die Cut Bits and Bobs to the top right and bottom right of the photo. To the bottom right I added a Flair Button and to the bottom left I used a wood veneer piece that I painted in matching colours.
To the top left and bottom right I added some Sticky Quotes and finished off using some heart stickers.
Although everything I used was from different collections, I was able to find so many mix and match pieces to create something colourful!!
Thanks for taking a peek!
Till next post,
Showing posts with label blackboard sticky quotes. Show all posts
Wednesday, 6 November 2019
Friday, 2 November 2018
Right Here | Sue Plumb
Hi everyone!
Sue Plumb here to share my latest design team project with you. Today I have changed things up and am keeping it simple with "clean" layout for a change. I have been incredibly busy lately, (something I am sure many of you can relate to), so I decided to create a quick page using my take on a grid style design and some older items from my Flutterby stash.
I wanted to document this super fun snap of my friend Krisy Podolak and I at the Qld border as we returned home from the Flutterby retreat last year.
I started with a sheet of wood grain patterned paper from Cocoa Vanilla Studio for my layout base, as I knew the warm wood tone would coordinate well with my photo and the cards I had selected from the 'Any Direction' Everyday Etc card pack.
I shuffled the card pieces and the photo around on my page until I was happy with their placement then stuck them down immediately, knowing I would work all the embellishments into the remaining spaces.
I started with a couple of stickers - the super cute sunglasses and road trip sticker were from the Good Vibes Only Sticky Quote sheet; whilst the mix tape sticker was from the Xtreme Teen Sticky Quote sheet.
I added the click click click and always find adventure stickers from the Blackboard Sticky Quotes sheet; and used Blackboard Sticky Alphas to add the border mole patrol words.
I dug through my wood veneer stash, finding the word adventure, a camera and some wood veneer stars.
I cut the little aqua enjoy the journey phrase from one of the Snippet Strip sheets from the Cool Snippet Strips pack.
At the top of my page I added the enjoy the journey flair button from set #394.
Once I had everything down on my page, I splattered a little white mist on my page then stamped the date and I was done. (I told you it was a simple one today!)
Thanks so much for stopping by so I could share this with you. I hope I have inspired you to dig through your Flutterby stash and create something using up some older bits and pieces too.
Until next time, happy scrapping!
Thursday, 29 March 2018
Road Trip Vibes by Allara Bamforth
Hello,
I'm back on the blog today with a double treat before long Easter weekend.
My first layout started off with a background I made using my round Gelli Plate. I hadn't used it yet and was just experimenting with some of the Flutter Colour Paint - Grape soda,l Orange Goldfish and Raspberry Punch. Over the top of some of the circles I spondge some Black Mahem through the Migraine Madness Stencil. I then found the a perfect photo to accompany the background and knew that there was some cards within the Good Vibes Collection that would be perfect.
I've used the Good Vibes Only - Everyday Etc Filler Cards and t he Everyday Etc Cards to layer my photo. For my titles I've used the Good Vibes Only Die Cuts Bits and Bobs, Good Vibes Only Wood Veneer Bits and some acrylic letters only available when you purchase the full Good Vibes only collections. A small saying from the Blackboard Sticky Quotes was also added.
I covered my wood veneer bit with the Black mayhem paint and clear embossed over the top. Added some splats of paint over the top and used my white posca pen to define some of the areas.
And because it is Easter I've included another layout using the Good Vibes Collection - kinda of Easter themed (Snapchat Bunny Ears).
Hope you have a great 4 day break and hopefully get some time to scrap. I am planning to! The Good Vibes Collection is getting a great work out from me, so bright and fun.
Till next time.
Allara xx
I'm back on the blog today with a double treat before long Easter weekend.
My first layout started off with a background I made using my round Gelli Plate. I hadn't used it yet and was just experimenting with some of the Flutter Colour Paint - Grape soda,l Orange Goldfish and Raspberry Punch. Over the top of some of the circles I spondge some Black Mahem through the Migraine Madness Stencil. I then found the a perfect photo to accompany the background and knew that there was some cards within the Good Vibes Collection that would be perfect.
I've used the Good Vibes Only - Everyday Etc Filler Cards and t he Everyday Etc Cards to layer my photo. For my titles I've used the Good Vibes Only Die Cuts Bits and Bobs, Good Vibes Only Wood Veneer Bits and some acrylic letters only available when you purchase the full Good Vibes only collections. A small saying from the Blackboard Sticky Quotes was also added.
And because it is Easter I've included another layout using the Good Vibes Collection - kinda of Easter themed (Snapchat Bunny Ears).
Hope you have a great 4 day break and hopefully get some time to scrap. I am planning to! The Good Vibes Collection is getting a great work out from me, so bright and fun.
Till next time.
Allara xx
Friday, 2 March 2018
Fuck This | Sue Plumb
Hi Flutterby peeps!
Sue Plumb here to share my latest design team project with you.
(And I should probably warn you - it features my favourite "sentence enhancer" too.)
As you may know, the brand new 'Good Vibes' collection was released earlier this week (find all the newest stock in store HERE); so while I was waiting for it to hit my doorstep, I decided to use up some of my older bits and pieces. I had this fabulous photo of my boys on their first day of school that was begging to be scrapped (quite obviously one was more impressed with school than the other was! haha).
I started this page by smearing some Sunshine Yellow Flutter Colour Paint on white cardstock using an old gift card; then I built up the layers on my page using some stamps and black ink.
I then added some Xtreme Teen Everyday Etc filler cards, that I layered together to form a mat for my photo. I also added a ticket from the Xtreme Teen Tickets pack, which I secured with small staples.
It was quite clear what was going through my son's head when I took this photo, so I figured it would make the perfect title for my page. I used (my very last) fuck wood veneer, which I coloured black and paired with some Cocoa Vanilla Studio black alpha stickers.
Below my photo, I added the quote card which was from the Xtreme Teen Everyday Etc card pack - it worked so perfectly for my school photo! Under the quote card I added a phrase sticker from the Blackboard Sticky Quotes; and I also added a few bold enamel dots around my page.
It was quite clear what was going through my son's head when I took this photo, so I figured it would make the perfect title for my page. I used (my very last) fuck wood veneer, which I coloured black and paired with some Cocoa Vanilla Studio black alpha stickers.
Below my photo, I added the quote card which was from the Xtreme Teen Everyday Etc card pack - it worked so perfectly for my school photo! Under the quote card I added a phrase sticker from the Blackboard Sticky Quotes; and I also added a few bold enamel dots around my page.
To finish my layout I added a Charms Creations star, which I topped with the fuck this flair button from the Sentence Enhancers flair button set. I also added some wood veneer stars, that I coloured black and placed around my page.
I am so happy with how this page came out - I am sure it will give my boys a laugh in the future!
That's all from me today, thanks for stopping by. Until next time, happy scrapping!
Monday, 12 February 2018
You Rock - Allara Bamforth
Hello!
I'm up on the blog again today with a mish mash of fabulous Flutterby Goodies for a page I created with a photo from a recent concert I attended at Roche Estate in the Hunter Valley to see the band LIVE . It was their renuion tour and I have seen them plenty of times over the last 20 years and they were still fantastic as ever. The rain didn't dampen our spirits - especially after a couple of Canadian Clubs :) I love this photo of my brother, husband and son in their rain ponchos (they look like Teletubbies).
Products I have used in this layout from Flutterby Designs and the link to them are as follows:
Song for Another Time Stencil
Flutter Colur Paint - Bahama Blue and Aquamarine Dream
We Run the World 12x12 Paper - Beyonce
Everyday Etc Filler Cards - Flawsome
X-treme Teen Tickets
Flawsome Die-cuts Bibs and Bobs
Flawsome page tabs
Wood Veneer Bits
Blackboard Sticky Quick Quotes
Thanks for stopping by the blog. Make sure you stop by the shop and stock up on some fabulous goodies.
Till next post,
Allara xx
I'm up on the blog again today with a mish mash of fabulous Flutterby Goodies for a page I created with a photo from a recent concert I attended at Roche Estate in the Hunter Valley to see the band LIVE . It was their renuion tour and I have seen them plenty of times over the last 20 years and they were still fantastic as ever. The rain didn't dampen our spirits - especially after a couple of Canadian Clubs :) I love this photo of my brother, husband and son in their rain ponchos (they look like Teletubbies).
Song for Another Time Stencil
Flutter Colur Paint - Bahama Blue and Aquamarine Dream
We Run the World 12x12 Paper - Beyonce
Everyday Etc Filler Cards - Flawsome
X-treme Teen Tickets
Flawsome Die-cuts Bibs and Bobs
Flawsome page tabs
Wood Veneer Bits
Blackboard Sticky Quick Quotes
Thanks for stopping by the blog. Make sure you stop by the shop and stock up on some fabulous goodies.
Till next post,
Allara xx
Sunday, 17 December 2017
FA LA LA... forget it! | Sue Plumb
Hi everyone!
Sue Plumb here today with my final design team share for 2017. (I can hardly believe it!) And given we are creeping sooo close to Christmas; I figured I may as well get in the spirit by sharing a festive layout featuring the new 'Fair Dinkum Chrissy' collection. This collection is perfect for scrapping any great Aussie Christmas. It's bright, happy, full of fun and the best part is...not a snowflake in sight!
(There are still some kits available in the store - you can check them out HERE)
I actually had a different layout planned for this post, but after capturing this hilarious shot of my kids with my niece and nephew the other day, I HAD to scrap it immediately!
To create this page I started by creating my watercolour background using my Flutter Colour Paints. I simply watered them down and then applied to the page with a brush. I used 'Bahama Blue' first, and then once that had dried, I applied some 'Tropicana Teal' over the top. I also added a few splatters of ink before setting it aside to dry.
Once dry, I took the new 'Song for Another Time' stencil, and used a sponge dauber to apply ink through it to various areas of my page. Then it was time to tackle the focal area of my page.
I started with some of the 'Fair Dinkum Chrissy' Everyday Etc filler cards, which I cut and layered to form my photo mat. I also cut out a coordinating page tab, and added some messy cotton before mounting my photo on top. On either side of my photo I added the two blackboard speech bubble photo cut outs. (I love these, they are so fun to add to a page!)
Next, I took a couple of the cards from the 'Fair Dinkum Chrissy' Everyday Etc cards and fussy cut the Fa La La for my title from one of them, and the naughty list quote from another; then adhered them both to my page. I also used some of the Blackboard Sticky Alphas to complete my title. Just underneath the title I added the keeping shit real Black Tiny Sticky Quote.
Alongside my photo I added the super cute little santa flair button (from the 'Fair Dinkum Chrissy' set # 1); and then a couple of embellishments directly onto my photo - the organised chaos Blackboard Sticky Quote; and some small baubles that I fussy cut from the same card as the title.
To finish my page I stamped a few quotes using my Typo roller stamps, and also the date and I was done. I am happy with how this page came out, it makes me laugh!
Thank you everyone for your support and lovely comments on my work throughout the year, I really do appreciate them all. I wish you all a very happy & safe Christmas with your families - I hope Santa is good to you!
Happy scrapping...and happy wrapping! X
Thursday, 3 August 2017
Cool As Bro | Sue Plumb
Hi peeps!
Sue Plumb here with you today and it's time for another design team project share from me. Two weeks ago, I was lucky enough to attend the annual Flutterby 'Create by the Lake' retreat held at Lake Keepit, along with several members from the Flutterby Design Team (and about 75 other ladies). I was so happy to be able to get together with these girls in person - they really are my people!
Here's a shot of us together taken just after the colour activity that Anita had organised...
Whilst on retreat, I also had the opportunity to create several Flutterby projects, the first of which I am sharing today. This page was created using a combination of Flutterby items.
Sue Plumb here with you today and it's time for another design team project share from me. Two weeks ago, I was lucky enough to attend the annual Flutterby 'Create by the Lake' retreat held at Lake Keepit, along with several members from the Flutterby Design Team (and about 75 other ladies). I was so happy to be able to get together with these girls in person - they really are my people!
Here's a shot of us together taken just after the colour activity that Anita had organised...
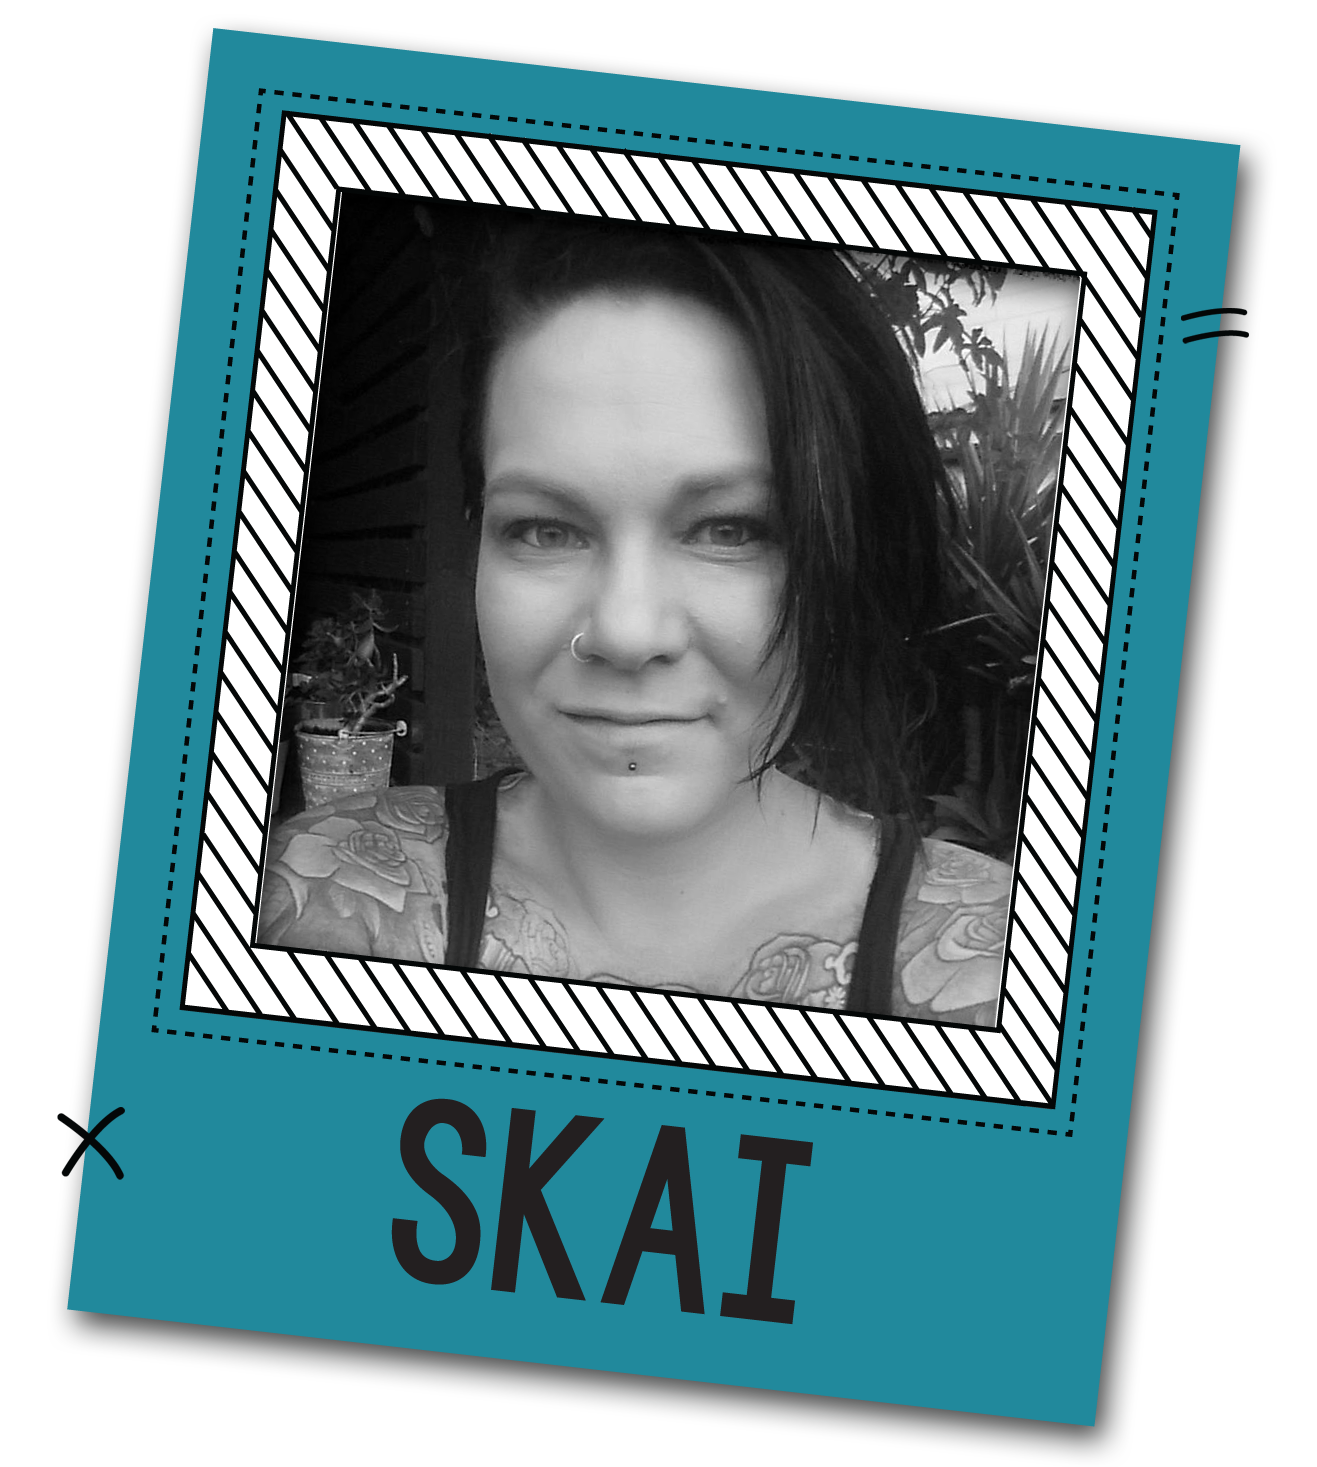
L to R - Skai, Tam, Anita, me (Sue) and Krisy
I started with a white cardstock base, and I added some red watercolour paint using a Colour Blast Colour Shimmer Dust (Candy) and a wide brush. I then took my Flutterby 'Stargazed' stencil (currently on special in the Flutterby store, so grab one if you don't have it already!) and added some texture using Colour Blast Colour Paste (Dusty Charcoal); and some splatters of red & black mist.
I then created a layered mat for my photo using a range of Everyday Etc cards (some of these were from the recently released 'Xtreme Teen' collection); a page tab and some messy black cotton for added texture.
I fussy cut the large pair of sunglasses from another of the 'Xtreme Teen' Everyday Etc cards, which I topped with a flair button.
The title was fussy cut from the same card as the glasses, and I added a the Blackboard Sticky Quote directly onto my photo. Around my page I stuck a couple of Snippet Strips, which also helped to bring more of the aqua colour onto my page.
As a final touch, alongside my photo I added a little ghetto blaster die cut from the 'Xtreme Teen' Die Cut Bits & Bobs pack; and a few stamped words and I was done.
Thanks so much for stopping by the Flutterby blog today so I could share this with you. I will be back again in a couple of weeks with another project. In the meantime, stay tuned to see what the rest of the team has been up to and don't forget to share your own projects in our Flutterby Inspiration HQ group on Facebook.
Until next time, happy scrapping!
Thursday, 18 May 2017
Zero F%*KS Given - Skai Mitchell
Hey Flutterby Fans...
I'm an honest scrapper, and it no secret that I've been struggling the last few months personally... A marriage falling apart, a major change in jobs that has affected my children immensely, whacking on 10kgs...zero time to create... and just generally being a shitty person to everyone around me...
My biggest downfall is the negative self talk... so I'm actively changing the chatter and dragging myself up and out of this rut..
The new range Xtreme Teen just screamed me, and while I have few layouts up my sleeve featuring my kiddos, this one is all me...
Products Used:
What have you been creating with this awesome new range?
Jump onto the Flutterby Inspiration HQ
and show us your creations!
Love and Light
Skai
xoxoxo
Saturday, 1 April 2017
Jrn School Leader 2017 - Skai Mitchell
Hey Scrappy peeps..
I'm popping in for a shameless 'mummy brag moment' for my share this week. My daughter Trinity attends a private school that is K-12, so Year 4 leadership nominations to them is the equivalent to Year 6 Captains in public school.
It was kinda' a deal!
Out of 45 students, she was one of 6 to be voted in as a Jnr School leader... (4 of whom were teachers kids).. so to say we are proud is an understatement.
I have pulled out an older collection to create this layout. Ive used pieces from the 'Super Cool' Everyday Etc cards to matt my photos and create my layers.
For my title I've inked the letters with Tim Holtz distress inks through the 'Got Letters' Stencil, then traced back over them with a super fine Micron pen. Add to that some of the 'Blackboard' Sticky Alphas and you have a catchy headline for your layout.
For my embellishments I've used some of the 'White' Sticky quotes, 'Bold' Tickets, 'Stitched Circles 3' wood veneer, 'Wild Bohemian' - Page Tabs and a FLAIR BUTTON NO.417.
Hope you like my grungy layout this week, and dont forget to share your creations on the Flutterby Inspiration HQ page!
Thursday, 9 March 2017
Creative Chaos Two Ways with Belinda
Hello Flutterby peeps!!
Belinda here today to share my first post for the month featuring the fun and funky 'Creative Chaos' collection
A little birdie told me that there are only a few of these kits left so cyber RUN over HERE to get yours quick!!
You will see how very versatile this awesome kit is with the two layouts I have created in the chaos that is my desk. My first layout is a very soft and pretty layout showcasing the sweet and lovely side of the range. My second layout is the polar opposite and crosses over to the dark side. SPOILER ALERT!! It also features many 'sentence enhancers'.
Firstly, the sweet one.
'Beautiful' Layout
Such pretty, soft pastel colours! I began by adding some texture to my background with texture paste and the I {Heart} You Mini Stencil. I then mixed up my colour with Flutter Colour paints to match the hoodie my daughter is wearing in the photo. I diluted the paint HEAPS to create a watercolour effect on my background and flicked some of the colour over the surface too. I also coloured a white doily with the same colour and added on top.
Next I shuffled around some photo cards and filler photo cards until I had a nice mix and layered them together. A quick staple holds them all in place for me until I am ready to stick down on my layout. Then I added my photo, a frame from the 'Honey' Fussy Cuts, my title and a scattering of cute embellishments.
Here's what I used:
- Everyday Etc Photo Cards
- Everyday Etc Filler Photo Cards
- Page Tabs
- Arctic White
- Orange Goldfish
- Raspberry Punch
Next up is the 'dark' one featuring a photo of me!
'Me' Layout
Told you it was dark! LOL I just LOVE that new 'You've Got This' Stencil. I swiped some texture paste over it and then when it was dry sprayed on a whole lot of water and mist to co-ordinate with my photo and the filler cards I had already chosen to use.
I outlined some of the stencilled words using a fine black Posca Pen to make them stand out a bit more and then layered on a whole lot of stuff!
Here's what I used:
- Everyday Etc Photo Cards
- Everyday Etc Filler Photo Cards
- 'Purple Polaroid' Photo Cut Out
- Page Tabs
Thankyou so much for stopping by the blog today. I hope my projects have gotten you inspired to create some chaos in your own space!
Cheers
Belinda
Subscribe to:
Posts (Atom)