Tuesday 28 August 2018

She Stood in the Storm by Allara Bamforth

Happy Tuesday!

I'm back on the blog today with a stash busting layout using lots of pretty pastel colours! Although I scrapbook to preserve memories of my beautiful family, I also tend to produce layouts that kind of reflect life decisions that are currently happening in my life. This layout happened to turn into one of those moments where the creative process helped me make some important career decisions which presented themselves last week!

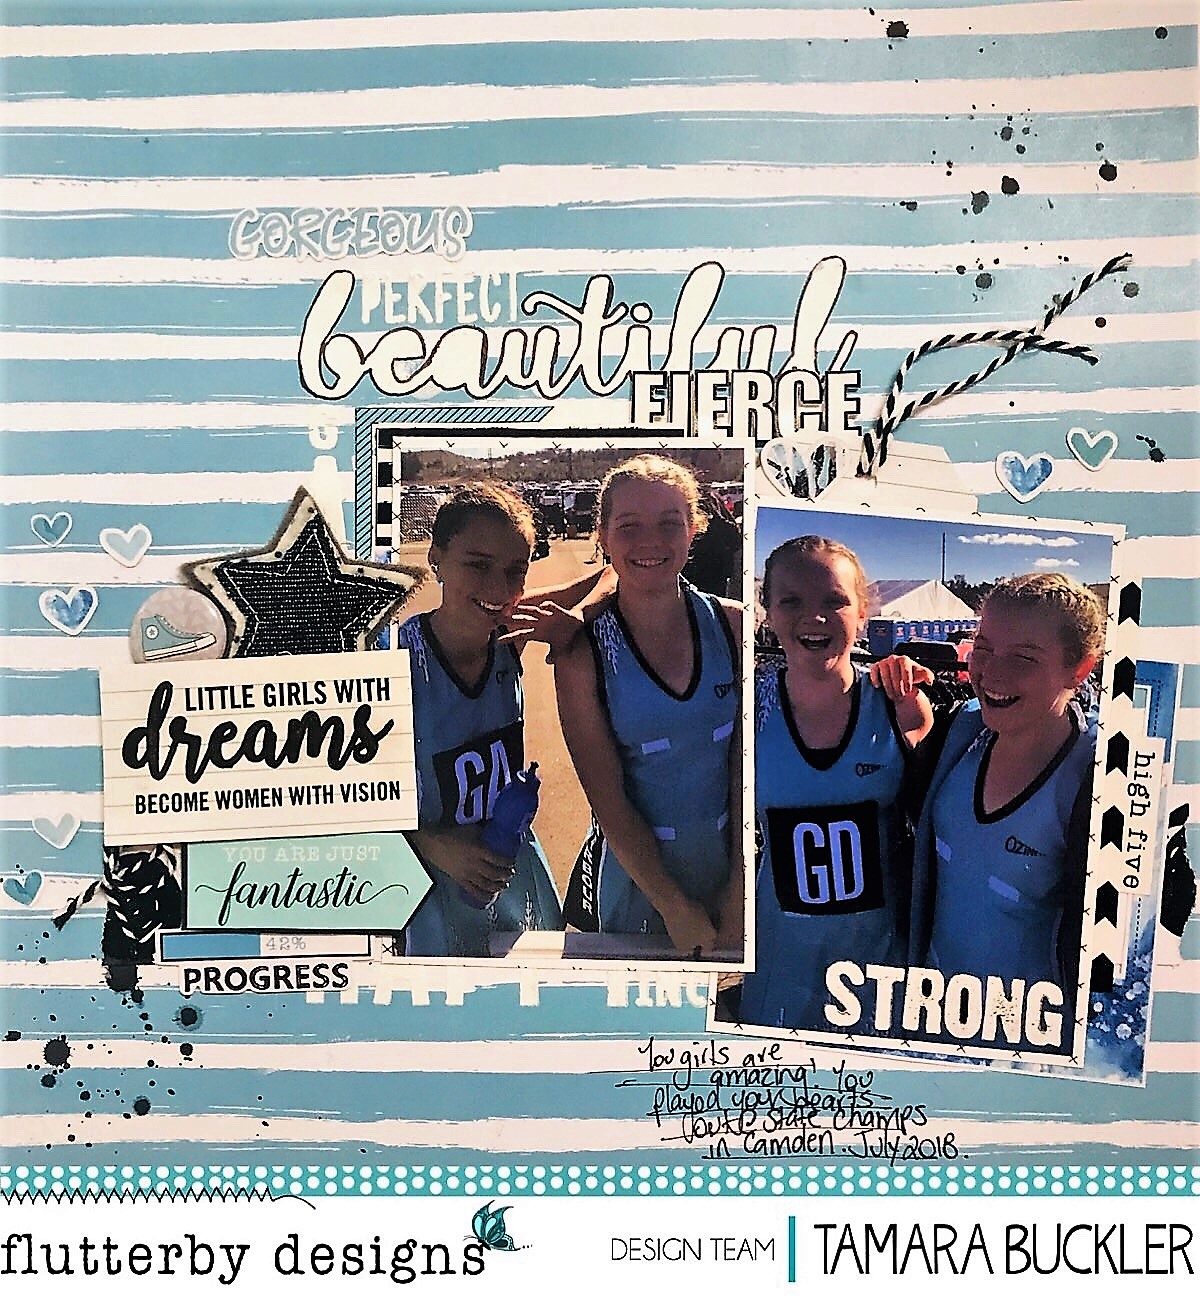
For this layout I've used the beautiful 'Sporadic Romantic' 12x12 paper from the Happily Ever After Collection and cut an angled shape for the left hand side of my page and then cut out some of the gorgeous flower designs from the page to mount underneath my photo stack. Then using three matching colours of oxide inks, I've splattered these over the white cardstock base and the cut out pieces.


Using one of the quotes 'She stood in the storm', that I based the page on from the We Run the World collection Everday Etc Cards , I've stacked it with  more Every day etc Filler cards mostly from We Run the World but some offcuts from some of the other fab collections. I then tucked in some muslin in behind the photos stack to add some softness and texture.

To the top left of the photo stack I've added a photo tab from the We Run the World collection.  Then to the top of the quote I've added a couple of 'White' Tiny Sticky quotes and then the 'Always' die cuts from the 'Mad about You' collection. To the right of the quote I've added an oldie but goodie Flair Button from the amazing collection of Flair Buttons which are on the website (if you haven't checked out the full collection for a while - you really should!).

Q
And there we have the finished layout. Not a lot of mixed media this time around, as I really wanted the beautiful paper and important message to shine.

Thanks for taking a peek.

Till next post,

Allara xx 

Sunday 26 August 2018

Happy Life | Rachel Dutko

Hi everyone

Today I have a bright and fun selfie page to share with you.


To create my background I added some Flutter Colour Paint in 'Tropicana Teal'.
I also added some splatters of 'Violet' Colour Blast Colour Spray.

I used some 'Happily Ever After' Everyday Etc filler cards , cutting them into
strips and weaving them together to create my colourful background.
I also added some small squares scattered around the page.


I fussy cut my title from a 'Happily Ever After' Everyday Etc card.


Because the paper layers were so bright and busy I kept the embellishments to a minimum.

I added a flair button , some snippet strips and


Thanks for looking
Rachel xx


Monday 20 August 2018

Love You | Belinda Spencer

Happy Monday Flutterby peeps!!

Belinda here today to share another layout for August featuring the Happily Ever After collection.


This layout shows how you can use lots of leftover scraps of patterned paper and filler cards. I pretty much used just leftover bits for the layers under my photo which I cropped into a non-standard size. I love using up all of my little leftover bits this way. They are great for cards too.


I used the fabulous 'All You Need Is Love' Stencil with some texture paste on the heavy white cardstock background. Once dry, I diluted some Orange Goldfish and Raspberry Punch Flutter Colour Paint with water and spritzed the layout with heaps of water too. I used a soft wet paintbrush to add the diluted paints to the layout letting them spread across the wet surface and create pools of colour. I left it to dry for a while before I used a bit of scrunched paper towel to mop up the excess water in some places. I finished off the drying with a heat gun.

I had heaps of paint left over and because I hate to waste it, I used the same technique to add it to a page in one of my art journals. Now I have a page ready to go! I always keep an art journal or tag handy to mop up any paint/ink leftover from projects. Saves heaps of time later.


I used an eclectic mix of wood veneer, page tabs, filler cards and sticky quick quotes to add extra detail and interest.


Here's what I used:

- 12 x 12 Blanket Thief patterned paper
- 12 x 12 Boring Together patterned paper
- 12 x 12 Forever and Ever patterned paper
- Wood Veneer Bits

- 'Mad About You' Wood Veneer
- White Tiny Sticky Quotes

Thanks for stopping by the blog today!

Cheers
Belinda

Saturday 18 August 2018

Stash-busting Traveler's Notebook Pages | Sue Plumb


Hi everyone!
Sue Plumb here to share my latest design team work with you. To switch it up and keep things interesting for myself, I have recently begun working in a traveler's notebook. People use TN's in all sorts of ways, but I have stuck with the memory keeping format just like I use my scrapbook layouts for. I have found the smaller size great for a change, and perfect for documenting some of the photos from my phone that I wouldn't necessarily create a large layout for. It has also given me the chance to use up a lot of bits and pieces from my stash.


For my "Let's Pug It Out" page that I created to feature some silly photos of my daughter trying on animal masks in Kmart; I took the opportunity to use up an Everyday Etc card from the 'Furever Friends' collection for my title and the pug picture.


Other items on this page included 'Mad About You' Sticky QuotesPhoto Cut Out tabs; Blackboard Sticky Alphas; Rainbow Heart Stickers; and a Snippet Strip.
I also used some washi tape and watercolour paint from my stash.


For my "Box Head Fun" double page spread documenting a workshop my kids attended during the holidays; I used some 12x12" paper from the 'Happily Ever After' collection for the quote and also to fill space on my pages, but any Flutterby Everyday Etc Cards, would also be perfect for this purpose.


Again, I used a random assortment of items across these pages including left over stickers from the 'Xtreme Teen' and 'Good Vibes Only' Sticky Quotes sheets; Teal Sticky Alphas; and another Photo Cut Out tab. I also added some watercolour paint.


For my "Netflix" themed page, I used one of the 'Good Vibes Only' Everyday Etc cards to create my title; and the watercolour feature underneath my journalling came from one of the coordinating filler cards. I also used the large icecream from the 'Good Vibes Only' Die Cut Bits & Bobs pack.


I finished off with an assortment of items - 'Happily Ever After' Sticky Quotes; die cut from the 'Mad About You' collection; and Rainbow Heart Stickers.
I also used washi tape from my stash and watercolour paint.

If you haven't tried working in a traveler's notebook yet, why not give it a go? It's often good for your creativity to change things up a bit, and this is a fabulous way to use up some of those left-overs in your stash. (To make way for new ones, of course!) 
Until next time, happy scrapping! 

Wednesday 15 August 2018

Project Life with Adele

Hi scrappy peeps!

I decided to jump into catching up with some Project Life this week! I love using the Everyday Etc cards as journaling cards and also cutting up different elements to use as embellishments on my page.


I used the We Run the World collection to document this week as well as several labels also from Flutterby Designs. 


I love cutting the Everyday Etc cards to add some extra details to my page. Here I have cut apart the #girlboss quote from the cutapart 12x12" paper and layered it on top of a beautiful pink watercolour Everyday Etc card to create a flag shape. I outlined the flag with a blue paint pen, which I also carried across to the large "rebel" wood veneer.


I love using little labels to add small snippets of information to my photos too.


So grab your Flutterby kits and your pocket pages and see how many pages you can create!! Stay tuned for some more PL pages next month :)

Have a rad scrappy week!
Adele 

Sunday 12 August 2018

'This is Our Happily Ever After' by Allara Bamforth

Happy Sunday!

Today's layout uses some photos from my beautiful parent's 50th Wedding Anniversary Celebrations back in April.

I started off by cutting some triangle shapes from the 12x12 paper 'Drunk on Love' from the Happily Ever after collection. Through the middle of the white cardstock background with the 'Sugar Sprinkles' Stencil I added some transparent gloss texture paste. Once that is dry I've pulled out my trusty Distress Oxide inks and just randomly added them with water over the top and once dry, flicking some of the watercolour over top as well.

 My next job was to mount the photos with 'Everyday etc cards' from the Happily Ever Collection as well as couple of co-ordinating colours from the Flawsome range. I also used these to cut out the cute little couple as seen above. The title for the page is also from the Happily Every after Everyday Etc Cards, which have been carefully/ not so carefully cut out :)

I added a Page Tab from the Happily Ever After Collection, as well as some stickers from the Happily Ever After Story Quotes and Tiny White Qutoes.  To round out the embellishments I've added a Flair Button from the Happily Ever Collection, some Washi Tape - that can only be found in the Happily Ever After May 2018 Kit, some Neon Enamel dots and last but not least some Wood Veneer Hearts from the Happily Ever Collection, that I have coloured in black.

Before I stuck it all down, I decided that the edge of the papers needed some definition and I've used an Aall and Create Stamps down both sides as well as inked the edge of the page in black. It is such a fun layout to capture a gorgeous day and to celebrate this major milestone. I hope my mum and dad don't mind being stars of the blog for this week!

Till next post,

Allara


Thursday 9 August 2018

Stay Wild | Rachel Dutko

Hi everyone!

For my share today I am trying my hand at scrapping a super-sized photo! 
My photo is 8" x 12", so a super-sized photo calls for super-sized embellishments!


This was a bit of a stash-busting layout for me - I've used lots of elements from 
various Flutterby collections, 
but they all work so well together and can be combined easily 
as each collection reflects Anita's unique and identifiable style. 

I've used some Everyday Etc cards to add some quotes to my page - 
the 'Stay Wild' and 'Always Find Adventure' from the Super Cool collection 
and the 'Today We are Making Memories' from the  
Good Vibes Only Everyday Etc cards.

I have used some co-ordinating Everyday Etc filler cards as layering pieces.


I have also added the 'Toys Not Included' quote from the Fair Dinkum Chrissy Bits & Bobs pack. 
I have added a flair, page tab, some washi from the Good Vibes Only kit and some Snippet Strips.


Thanks for looking
Rachel x x


Monday 6 August 2018

Little Girls with Dreams become Women with Vision | Tamara Buckler

Hi All,

I'm back on the blog today to share with you a layout I created using some of the beautiful 12x12 paper from the We run the World Collection. The beautiful blue striped paper "Mrs Smith" was perfect for to document photos of my daughter and her netball friends at the recent State Champs that we attended.


I started this page by applying some modelling paste through the "Flawsome" stencil roughly in the centre of the page. I matted my pics with some patterned paper that I had laying around, and then began tucking some Everyday Etc Cards from We Run the World behind my photos. I also found various frames in Die Cut Bits and Bobs pack from the Flawsome collection to tuck behind the pictures. I ran a strip of the "Bev" paper from the 12x12 pack across the bottom of my photos to anchor them to the page.


Whilst I was looking through the Everyday Etc Cards, I found the "Little Girls with Dreams" quote, and new this was perfect for my title. The word 'dreams' was pink, but I used a sharpie to make it black to better suit my colour scheme. I built the cluster to the left of my pictures to highlight this phrase. I tucked in a Flair Button from the Extreme Teen collection, as well as a star from Charm's Creations.


I fussy cut some words and phrases from the Everyday Etc Cards to emphasize the strengths of our amazing netballers, and tucked these around the page. I also added quite a few die cut hearts from a number of different ranges to tie all the blue pieces on the layout together.


To finish the page off I added some black splatters, and some twine and it was done! Super easy and I really love the result.

Thanks for stopping by today.

Big Loves,
Tam x

Saturday 4 August 2018

Love This Kid | Belinda Spencer

Happy Saturday Flutterby peeps!!

Belinda here today to share a layout created using the fabulous Happily Ever After collection.
This time I have used the collection to create a layout featuring a photo of my darling daughter.

'Love This Kid'


I created a base for my layout using the stunning 12 x 12 Forever & Ever patterned paper. I love the mix of beautiful colours in this watercolour look paper. I also love when the background paper is so good that you really don't have to do anything to it. I have used it just as it is.


I then picked out some Everyday Etc Filler Cards that matched the colours in the paper as well as an offcut of the I'll Keep You 12 x 12 patterned paper and layered those together. I tucked in some scraps of fussy cuts and added my photo on top with 3D foam.

I used the same offcut of patterned paper as well as a bit of the Love Potion paper to back my title. The 'Love' is from the Wood Veneer Bits pack and the 'This Kid' I fussy cut from the 'Kids' Fussy Cut pack.

I added a couple more wood veneer bits to balance the layout as well as some cute hearts from the Die Cut Bits & Bobs pack and some sweet enamel dots. I finished with some Tiny Rainbow Sticky Quick Quotes.


Here's what I used:


Thanks for stopping by the blog today. I hope you find some time to play with your own stash of Flutterby goodies this weekend.

Cheers

Wednesday 1 August 2018

Flutterby 'Create By The Lake' 2018

Hey hey peeps - boss lady here.
I'm popping in to share some pics & spill some beans about the recent 'Create By The Lake' retreat.

My little helper & I went gang busters to get the hall ready. Riley loved being involved in the set up & even more so he loved the money he earned to keep his Lego habit up 🤣🤣🤣


This years theme was 'Christmas in July'. Our family mantel piece was the star of the show.


This was our challenge prize table


The Flutterby shop was chockablock full with product & ready to go.


The set up before everyone arrived. Christmas themed of course. Everyone's goody bag, was a wrapped present 😊

Before:

After:

Retreat teacher Elisa Ablett

Retreat teacher Anita Tillman 

Cheese!!!

'Wioyne Tioyme' mingle

Our charity art auction raised over $2300 for the Tamworth Women's Refuge ❤❤❤ 
A MASSIVE thank you to all the artists who donated their works x


A HUGE blindscrap with 80 ladies was a hoot!! So much fun.

Group photo 

And that's a wrap - Clean up crew ❤

Stay tuned for more info SOON for the dates & info for our 2019 retreat 

Neet x