Showing posts with label Happily Ever After. Show all posts

Saturday, 10 August 2019

'This is Us' || by Elisa Ablett


Hi Flutterby Fans,

Elisa here from the design team with my first inspiration of the month, a bright and fun layout featuring the Happily Ever After collection and those awesome Art Foamies stamps which I seem to have a 'thing' for at the moment😉.

This layout is for my Sister and Brother in law, sharing their love for each other as they go through an extremely tough time. So not only are they the 'spring in each other's step', 'or the ketchup to their fries' they are each other's favourite pain in the ass. lol 

The combination of the Colour paint and art foamies in the background is a winner winner chicken dinner for me at the moment, i can't get enough of the easy to use - Art Foamies. Keep an eye out in store as I believe there will be new designs out soon.

Products used from the store for this layout - 


Let's take a look at the close ups! 


Thanks for stopping by the blog today, don't forget to head over to the store and have a peek through all the goodies!

hugs

Elisa xx


Wednesday, 19 June 2019

This Is Home | Rachel Dutko

Hi everyone!
Rachel back with you today with another layout to share.


To create the mixed media background for my page I started by adding 
some strips of the "Waves Of Wonder" 12x12 paper 
to some white cardstock with some gel medium.
I used a black pen to add detail to the circular lines of the paper.


I then added some flicks of Colour Blast Colour Artist Ink, 
and sponged on some Flutter Colour Paint in Orange Goldfish.

The next step was to add some stamping of dark blue acrylic paint 
with a "Round Random" Art Foamie stamp.


With the background done, I painted some 'days of the week' wood veneers with black gesso.

I then added some "We Are" Everyday Etc filler cards under my photo.


I fussy cut the house and the word 'home' from some "We Are" Everyday Etc cards
I cut the 'this is' from a "Happily Ever After" Everyday Etc card.


I've also added an arrow from Charm's Creations, a page tab and a Snippet Strip.


Thanks for looking
Rachel x x


Tuesday, 13 November 2018

Weird as Me. Poop.| Allara Bamforth

Happy Tuesday,

I'm back on the blog today with a very quick and easy layout that really didn't take long at all! Sometimes I love being able to create no fuss layouts that don't take too much effort but still look amazing. This way I can get lots of layouts done without spending hours on them. That's why I love Flutterby Designs goodies, so easy to mix and match and create a fab layout!!

My layout today uses the I'll Keep You 12 x 12 paper for the background and a couple of strips from 'Love for All' paper from the 'Happily Ever After' collection. I've taken the 'Halftone' and 'Migraine Madness' Stencils and applied some Flutter Colour Paint in Grape Soda, Bahama Blue, Orange Goldfish with a sponge. Overlapping the designs from bottom left to top right. This complements the paper and the grape soda matches in with the title.

Once the background was dry, I drizzled some of the Artic White and Bahama blue over the stencilled parts. Added to this I picked some of my Oxide Inks to add some splashes over the top.  The title is from 'What Makes Us Work' 12 x 12 paper form the 'Happliy Ever After collection. To finish off I've used the 'Stargazed Stencil' to add some stars to triangles around my son's head.


Thanks for taking a peek.

Till next post,


Friday, 26 October 2018

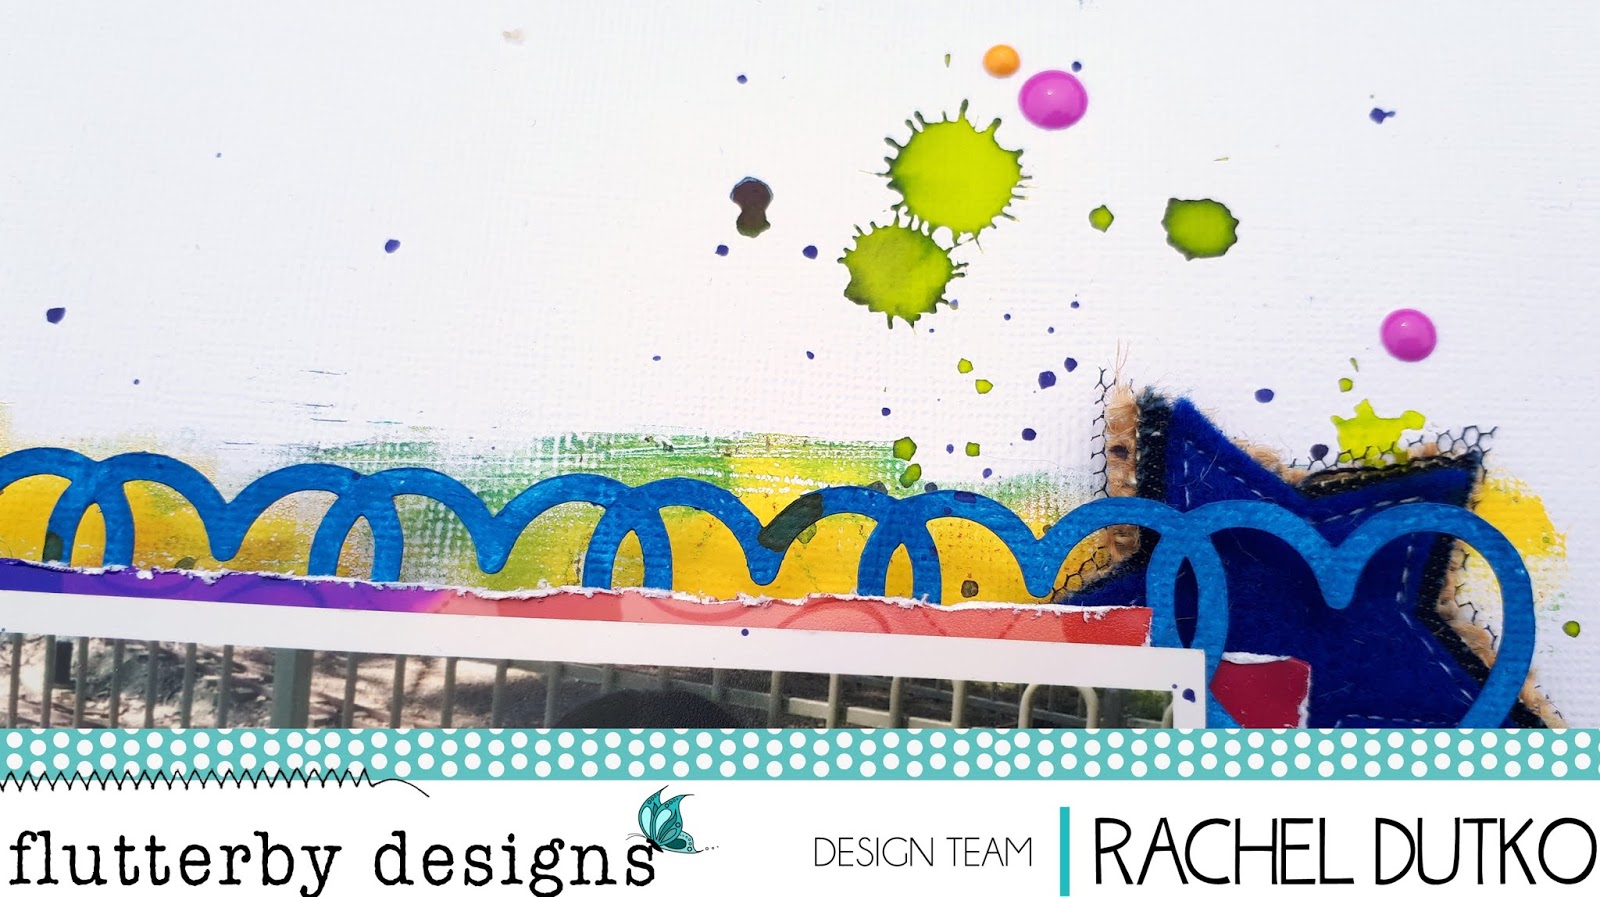
I Heart You | Rachel Dutko

Hi everyone
It's Rachel back with you today.
I have a bright layout to share with you. 


I created my background using a monoprint from my gel plate.

I have created some layers under my photo using some 'Happily Ever After'
Everyday Etc cards, as well as some layers of cardboard for some dimension.


For my title I used a 'I Heart You' custom cut file from CUT TO YOU, from Created By Gwen. 
I backed this file with some 'Happily Ever After ' Every day Etc filler cards.
I have also used two CUT TO YOU 'Intersecting Hearts Row' custom cut files under my layers.


I have added some page tabs and a flair.

I have also added some stars from Charm's Creations.


To finish my page I splattered some Colour Blast Artist Ink and Colour Spray, 
as well as adding some neon enamel dots.


Thanks for looking
Rachel x x


Thursday, 18 October 2018

Boring Together | Allara Bamforth

Happy Thursday!

I'm back on the blog today with a layout that turned out more an like an art journal piece using the fabulous 'Happily Ever After Collection'. I rarely plan anything I do, I kinda just go with it and see what happens, sometimes it works and sometimes its blah but you can never go wrong with bright colours I say.

I love just slapping paint on the backgrouds and making them my own. So with this piece I've added Flutter Colour Paint in a cascading rainbow effect and used my brayer to smoosh them across the page.

Using the I Heart You Stencil and the Half tone stencil, I have added some detail on the background with the paint and used my posca pens to add a few bits and bobs.

Using the Everyday Etc Filler Cards and some quotes from Everyday Etc Cards from the Happily Ever After Collection, I've matted up the gorgeous Tim Holtz paper dolls and added the 'Let's Be Boring together' title. To this I've added some stickers from the Happily Ever After Sticky Quotes and i've embossed a wood veneer from Happily Ever After Wood Veneer Bits.

Well that's it from me. Thanks for taking a peek.

Till next post,


Monday, 1 October 2018

This Is Us Documented | Sue Plumb


Howdy peeps!
Welcome to October and happy Monday! (If you are smack-bang in the middle of school holidays like we are here, you have probably lost track of what day it is by now.) I am here today to share my latest design team project - a fun mixed media scrapbook layout featuring the 'Happily Ever After' collection and a photo of my hubby and I.


I started my page by creating my background on a sheet of white cardstock. (I used Bazzill Marshmallow so that it could handle the wet media.) First, I applied some Colour Blast Colour Artist Inks - 'Cranberry', followed by 'Slipper'. I added some extra water to move them freely around the page and help them to blend. I then dried it off with a heat gun before going back and splattering clean water over the top with a brush to take out some colour; leaving it to sit for a minute before soaking it up with some paper towel.


I then added some Flutter Colour paints - a touch of Cotton Candy Pink, as well as Sunshine Yellow; which I spread randomly on top with a brayer. After that had dried, I went back with some Arctic White and brayered some (more heavily this time) to pull the colour right back where my photo was going to be placed.

For the final layer in my background, I wanted to add some subtle detail and texture, so I used  the 'Happily Ever After' stencil with Colour Blast 'Snow White' Colour Paste before setting it aside to dry thoroughly. 
Look at the gorgeous shimmer...


With my background complete, it was time to add some papery layers on top. I used 'Happily Ever After' Everyday Etc filler cards, cut into various sized pieces to create a layered photo mat before adding my photo on top. I also tucked one of the coordinating 'Happily Ever After' page tabs in behind my photo and secured it with a staple.


I used some torn pieces of the lip printed washi tape from the 'Happily Ever After' Kit - placing my "kisses" randomly around my page. The title piece for my page - this is us documented was cut from one of the 'Happily Ever After' Everyday Etc cards.


I used a variety of heart stickers from the 'Happily Ever After' Sticky Quotes sheet scattered around the page. Also from the same sheet was the you+me=love sticker, which I popped up on some foam tape next to my photo, along with the for ever and ever banner. 


I love adding elements directly onto my photos. Here I added the together sticker in the corner of my photo, and then the you+me phrase sticker below it. (The Sticky Quote sheets always have a great variety of stickers to use, and they stretch a long way too!)
The final embellishment I added was the you are the bacon to my eggs flair button from the 'Happily Ever After' Flair Button Set 1


To finish my page I added a few small splatters of blue mist and I was done.
Thanks for stopping by today so I could share this with you. If you haven't seen the new A5 display folders or the stencils and page kits that were recently added to the Flutterby store, head over HERE to see whats new.
Til next time, happy scrapping! 


Monday, 3 September 2018

Together | Belinda Spencer

Hello Flutterby peeps!!

Welcome to my first post for September!

Today I have another layout to share with you featuring the fabulous Happily Ever After collection.

'Together'


I have used the super pretty Sporadic Romantic 12 x 12 patterned paper for my background and enhanced it with some lovely Flutter Colour Paint in Green Limousine and Tropicana Teal.


I spritzed quite a bit of water onto my layout and then dropped diluted paint onto the surface to allow it to spread. 


Once dry, I used the awesome BRAND NEW Cool as a Cucumber Stencil with some texture paste to add some more interest to the background. I chose some random words to highlight with a white paint pen.


I added a whole bunch of layers under my photo using off cuts of the other patterned papers in the range as well as Everyday Etc Filler Cards.


I love to add some fitting quotes using the Sticky Quick Quotes and the colours in the Tiny Rainbow quotes are perfect to co-ordinate with this range. I stuck the quotes down on white cardstock first for added strength and to give a nice little white border.


A sweet sprinkling of enamel dots never goes astray! They are the perfect little element to add detail to your page.


My layouts are never complete without the addition of page tabs either!


The wodd veneer title and the 'mine' comes from the Happily Ever After Wood Veneer Bits. These wood veneer sheets are so awesome and economical too!! I have used them on 8 layouts so far and still have some left!!


Here's what I used:

- 12 x 12 Sporadic Romantic
- 12 x 12 Drunk on Love
- 12 x 12 Blanket Thief
- Wood Veneer Bits


Thanks so much for stopping by the blog today to check out my layout. 

Cheers
Belinda


Tuesday, 28 August 2018

She Stood in the Storm by Allara Bamforth

Happy Tuesday!

I'm back on the blog today with a stash busting layout using lots of pretty pastel colours! Although I scrapbook to preserve memories of my beautiful family, I also tend to produce layouts that kind of reflect life decisions that are currently happening in my life. This layout happened to turn into one of those moments where the creative process helped me make some important career decisions which presented themselves last week!

For this layout I've used the beautiful 'Sporadic Romantic' 12x12 paper from the Happily Ever After Collection and cut an angled shape for the left hand side of my page and then cut out some of the gorgeous flower designs from the page to mount underneath my photo stack. Then using three matching colours of oxide inks, I've splattered these over the white cardstock base and the cut out pieces.


Using one of the quotes 'She stood in the storm', that I based the page on from the We Run the World collection Everday Etc Cards , I've stacked it with  more Every day etc Filler cards mostly from We Run the World but some offcuts from some of the other fab collections. I then tucked in some muslin in behind the photos stack to add some softness and texture.

To the top left of the photo stack I've added a photo tab from the We Run the World collection.  Then to the top of the quote I've added a couple of 'White' Tiny Sticky quotes and then the 'Always' die cuts from the 'Mad about You' collection. To the right of the quote I've added an oldie but goodie Flair Button from the amazing collection of Flair Buttons which are on the website (if you haven't checked out the full collection for a while - you really should!).

Q
And there we have the finished layout. Not a lot of mixed media this time around, as I really wanted the beautiful paper and important message to shine.

Thanks for taking a peek.

Till next post,

Allara xx 

Sunday, 26 August 2018

Happy Life | Rachel Dutko

Hi everyone

Today I have a bright and fun selfie page to share with you.


To create my background I added some Flutter Colour Paint in 'Tropicana Teal'.
I also added some splatters of 'Violet' Colour Blast Colour Spray.

I used some 'Happily Ever After' Everyday Etc filler cards , cutting them into
strips and weaving them together to create my colourful background.
I also added some small squares scattered around the page.


I fussy cut my title from a 'Happily Ever After' Everyday Etc card.


Because the paper layers were so bright and busy I kept the embellishments to a minimum.

I added a flair button , some snippet strips and


Thanks for looking
Rachel xx