Wednesday, 22 March 2017

Goodbye with puppy love by Lauren Hender

Today on the blog for me is a little bitter sweet as today is my last blog post for Flutterby Designs as part of the design team. It has been an absolute pleasure to design for Anita and her amazing company. I truly feeling blessed to call her my crazy uber talented friend.

So lets get on with the scrapbooking side of things. I created this layout with the new release fur-ever friends range. I love this range as I have the perfect little pooch to scrapbook with it.


This layout was a whole lot of fun to create. If you haven't played with a white piece of cardstock, some watercolour paints and some washi tape.


Tip: Change the size of you paint splats with different size paint brushes.


I layered up my photo with a couple of everyday etc cards and then added some tags and the lace. I mounted the photo with some adhesive foam to help it pop off the page.


I then began to embellish with a couple of flairs, some wood veneer, the bits and bobs pack, and a sticker off the sticker sheet.


Check out this great title and super cute bone sticker!

You can shop the Fur-Ever Friends Collection HERE

It has been an absolute honour to create for you all over the last few years. I will still be around checking in with Flutterby HQ and adding some new projects there.

Always capture and create!
Lauren xoxo

Monday, 20 March 2017

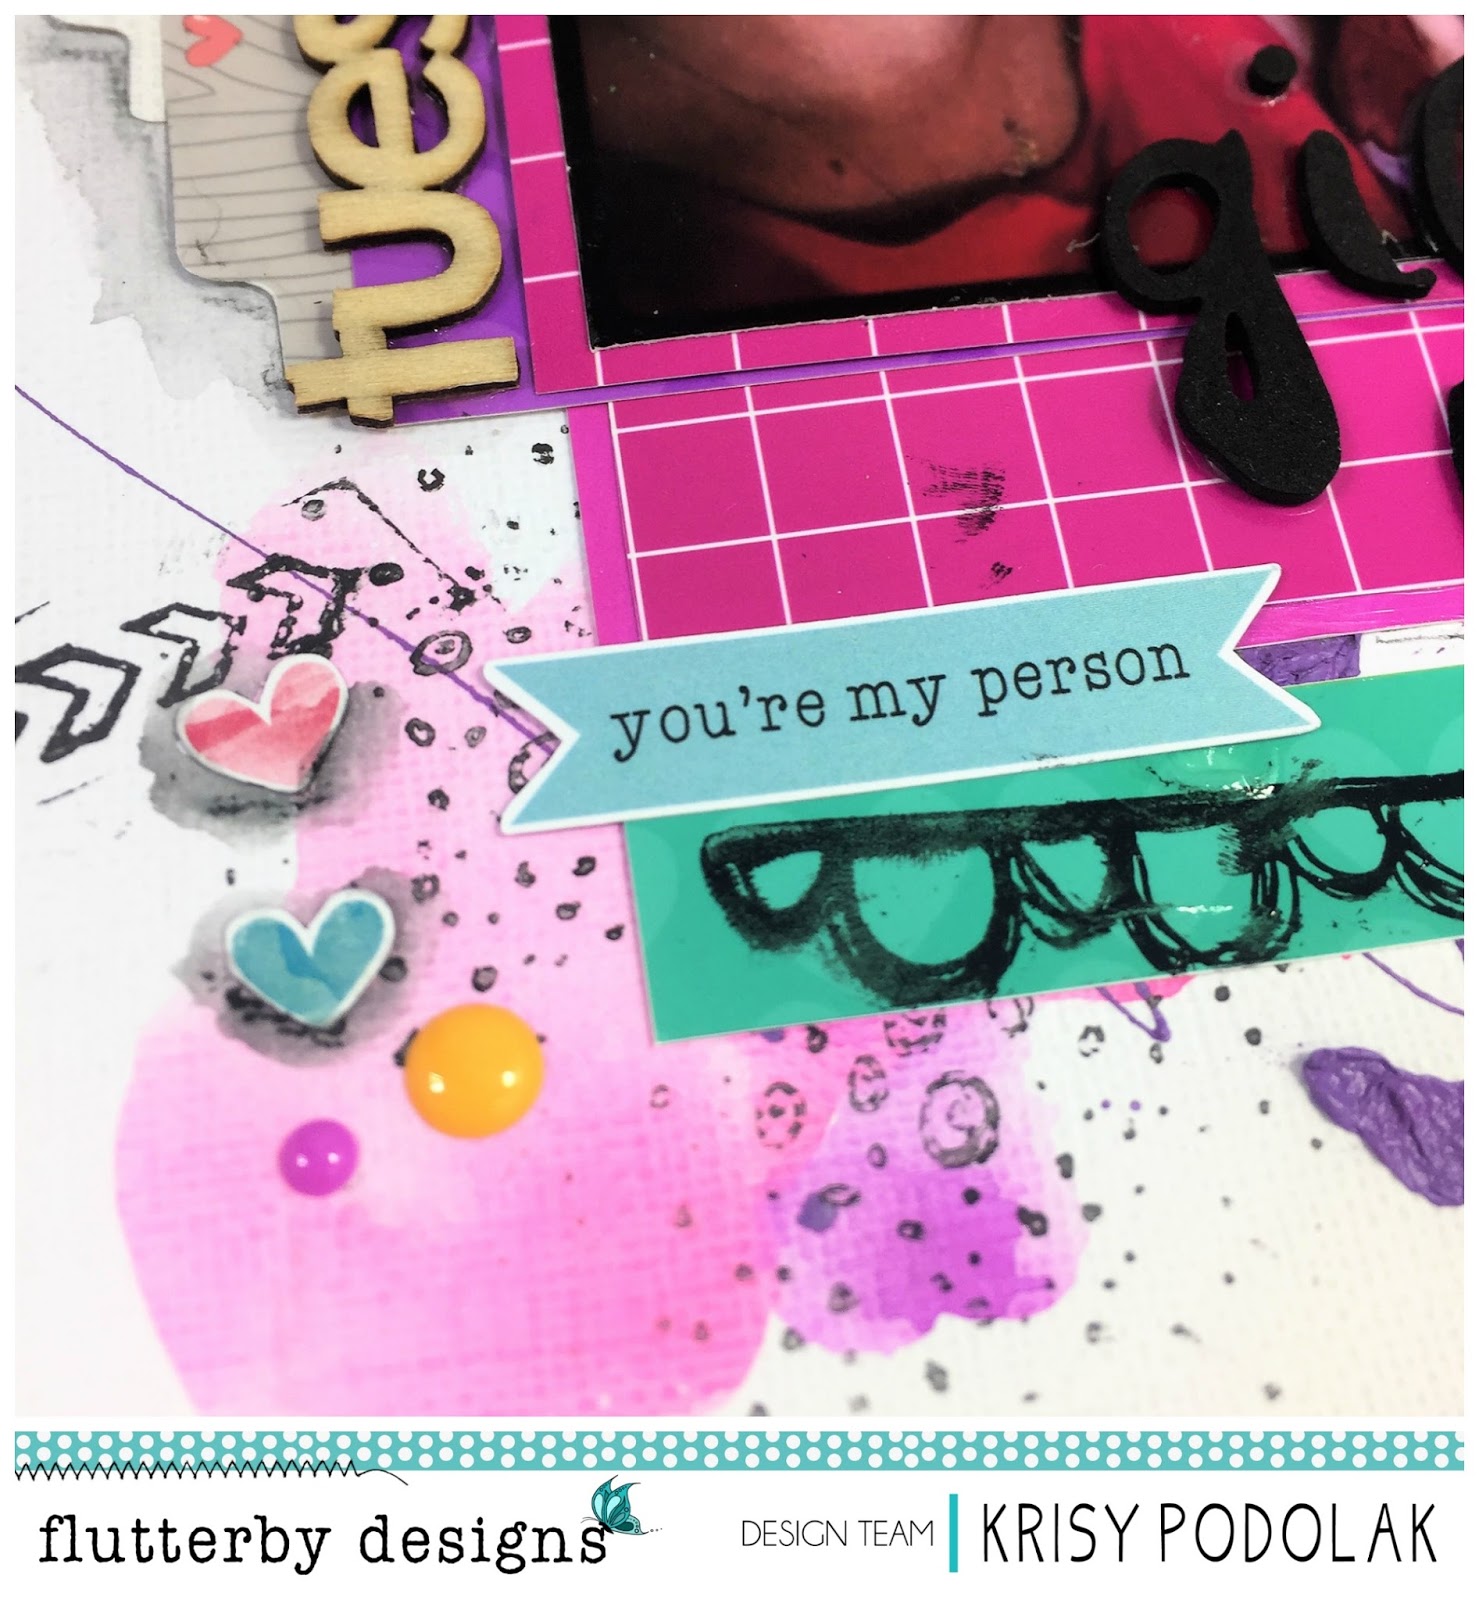
Adventure + OH Neigh | Krisy Podolak

 Hi Flutterby Lovelies.

Krisy back again today to share two layouts that pushed the boundaries on the new "Fur-ever Friends" Collection.  I went back and looked through thousands of photos to see which ones had animals in them.  We don't have any pets so I had to find alternatives.

This is what I came up with.  The first layout is of my daughters first visit to Lone Pine Koala Sanctuary.  Lone Pine is a small animal sanctuary in the heart of Brisbane.  It is a  great place to take kids at is is not too big and you can get a yearly pass fairly cheap.  That means that you can justify going there and only spending an hour or two at a time makes it easy to tire the kids out and you still have enough money left over for new Scrappy supplies you have been eyeing off in the Flutterby Shop.

I will apologise now for the low light of my photos.  It seems when we have really hot bright days, I cannot photograph layouts.  Stained glass windows look great but are a bitch to work with.  The light just doesn't work and outside is not an option as our house is painted blue and this really kills any natural light.

Here is my first layout.


 I started with a mixed media background. Some shimmer dust  colour, then over the top some stamping,  Then I added a whole lot of layers.  I cut up some of the Everyday  Etc cards to form strips behind my matted photos.  I added some Snippet words and heart stickers along with some feather wood veneer that I have been saving.  I almost put them my stash.

Now on to my next layout.  Another series of photos that I found was this of my first Melbourne Cup as a mother.  I loved Melbourne Cup before kids not that I ever really put on a bet.  But I love fascinators and the excitement.  This is my first time going to a Luncheon and it was great fun.
I cut up the Oh Neigh card from the "Fur-ever Friends" Everyday Etc Cards and teamed it up with other cards from my whole Flutterby stash that worked with the colours of the photo.  I then added some Photo tabs, enamel dots and heart stickers.


Well, I hope I have inspired you to use your cards a bit differently.  Please share what you create on the Flutterby Inspiration HQ page.  I'd love to see them.

Krisy xx

Friday, 17 March 2017

You Wouldn't Believe It | Sue Plumb

Hi peeps! It's Sue Plumb back again with another Flutterby layout to share. Today I have gone back to revisit an old favourite release of mine, the 'One of Those Days' collection. I was prompted to dig this one out when I came across this photo of one of my boys. I am sure it is a moment almost every mum can relate to. You know, when you leave the room for ONE minute and walk back in to a scene like this. Argh!!


I started with a white cardstock background for this one, and brushed some orange watercolour over it using a wide brush; then drizzled with the 'Stormy Grey' Flutter Colour paint from the Monochrome set.


I fussy cut the main portion of my title from one of the 'One of Those Days' Everyday Etc cards; which I complimented with some black Tiny Sticky Quotes and some 'Bright' enamel dots.


Underneath my photo I layered some Everyday Etc Filler cards to add dimension, and used a punch to add a notebook edge. I also added a paper doily, the shit has hit the fan page tab; and some messy cotton thread.


Below my photo I added a Blackboard Sticky Quote; fuck wood veneer word (which I painted black); a quote cut from an Everyday Etc card; and another black Tiny Sticky Quote.


I finished off by embellishing directly onto my photo using a wood veneer geotag (painted white); a monochrome flair button; and a grey Snippet Strip. Then I splattered around a bit of black mist, added a few stamped phrases and I was done.

Thanks for stopping by today so I could share this with you. I will be back again in a couple of weeks to share another Flutterby project with you.
Until then, happy scrapping! X

Wednesday, 15 March 2017

Welcome to our Tribe.

Sometimes I still have to pinch myself when I see my photo alongside these awesome ladies!!!

Being chosen to be a Flutterby Designs design team member has been one the highlights of my year so far, only because I was a huge fan girl of the boss lady (Anita Rodway) before hand, and I had been following her work for a while..

This is probably my most favourite collection, WILD BOHEMIAN and one I've used over and over again. 


I've started on my Marshmallow cardstock and taped a sunburst stencil to it. Then I got messy with the Flutter Colour Paints. I've applied them to the cardstock straight from the bottle, and given them ample drying time before I have taken the stencil off.


Next, start your layers. Ive used bits from the WILD BOHEMIAN Everyday Etc Cards and the WILD BOHEMIAN Filler Cards, and machine stitched around the edges to give it some grungy texture. 

Add in some Enamel Dots in NEON, White Sticky Quotes, a tiny Wheel wood veneer and a super cool flare (No.415) and you have one super rockin' page!


Sunday, 12 March 2017

Be Fearless, with Ros

Hi Flutterby fans.  
Today I bring you a bright colourful page featuring me.
Firstly I put down some moulding paste with the You've Got This stencil.  This has been heat dried so that it would have a puffy look.   Love the empowering words that are a part of this stencil.  I then pulled out the Bombay Ink and added lots of water.  The ink is such a bright vivid colour.


My photo stack has been made up with Everday Etc cards from the Blank Palette range.  This is perfect for bright backgrounds because it doesn't matter what colours you choose, the black and white of this set goes with anything.


I outlined the word incredible with a water colour pencil to make it stand out from all the other words on my background.   There's been a couple of Enamel Dots and the censored sticky quote placed over the sentence enhancer to add another little embellishment to the page. 


A few little self motivating quotes from the White Tiny Sticky Quotes finish off my layout.


Hope you've been inspired ♥


Thursday, 9 March 2017

Creative Chaos Two Ways with Belinda

Hello Flutterby peeps!!

Belinda here today to share my first post for the month featuring the fun and funky 'Creative Chaos' collection


A little birdie told me that there are only a few of these kits left so cyber RUN over HERE to get yours quick!!

You will see how very versatile this awesome kit is with the two layouts I have created in the chaos that is my desk. My first layout is a very soft and pretty layout showcasing the sweet and lovely side of the range. My second layout is the polar opposite and crosses over to the dark side. SPOILER ALERT!! It also features many 'sentence enhancers'.

Firstly, the sweet one.

'Beautiful' Layout


Such pretty, soft pastel colours! I began by adding some texture to my background with texture paste and the I {Heart} You Mini Stencil. I then mixed up my colour with Flutter Colour paints to match the hoodie my daughter is wearing in the photo. I diluted the paint HEAPS to create a watercolour effect on my background and flicked some of the colour over the surface too. I also coloured a white doily with the same colour and added on top.


Next I shuffled around some photo cards and filler photo cards until I had a nice mix and layered them together. A quick staple holds them all in place for me until I am ready to stick down on my layout. Then I added my photo, a frame from the 'Honey' Fussy Cuts, my title and a scattering of cute embellishments.


Here's what I used:

- Everyday Etc Photo Cards
- Everyday Etc Filler Photo Cards
- Page Tabs

- Arctic White
- Orange Goldfish
- Raspberry Punch

Next up is the 'dark' one featuring a photo of me!

'Me' Layout


Told you it was dark! LOL I just LOVE that new 'You've Got This' Stencil. I swiped some texture paste over it and then when it was dry sprayed on a whole lot of water and mist to co-ordinate with my photo and the filler cards I had already chosen to use.


I outlined some of the stencilled words using a fine black Posca Pen to make them stand out a bit more and then layered on a whole lot of stuff!


Here's what I used:

- Everyday Etc Photo Cards
- Everyday Etc Filler Photo Cards
- 'Purple Polaroid' Photo Cut Out
- Page Tabs


Thankyou so much for stopping by the blog today. I hope my projects have gotten you inspired to create some chaos in your own space!

Cheers
Belinda

Monday, 6 March 2017

Enjoy the Journey by Lauren Hender


Hi Everyone!
Welcome back to the Flutterby Designs blog.

I hope everyone's new year had been smooth and everything has settled into place.
At the moment in our home, everything is in a bit of chaos. We are all suffering a bug and Mr 17 decided to go and break his leg leaving us wishing we never had let him play futsal. But, on a good note all the routines of school and after school activities have settled into place and the 2017 routine is now operational.


Tonight I am sharing with you a project life layout highlighting some Everyday Etc Cards, Wood Veneers, Photo Tabs and of course a trusty flair.

These family photos were taken on Boxing Day last year when we all decided to head to Forster for the night. We had a great time and made memories that I will treasure forever.


As you can see by the images above I have used the simple placement of photo tabs, wood veneer and tags to highlight parts of the photo. My advice is - not every layout has to be over the top crazy embellished... well most do cause I love it. But sometimes the photos are just amazing enough and what you end up with is a layout that highlights your photo and not hides it.
I hope this layout inspire you to get creative. Why do you do a little Flutterby shopping, new goodies always get me into the mood to create.
SHOP HERE

Lauren xo